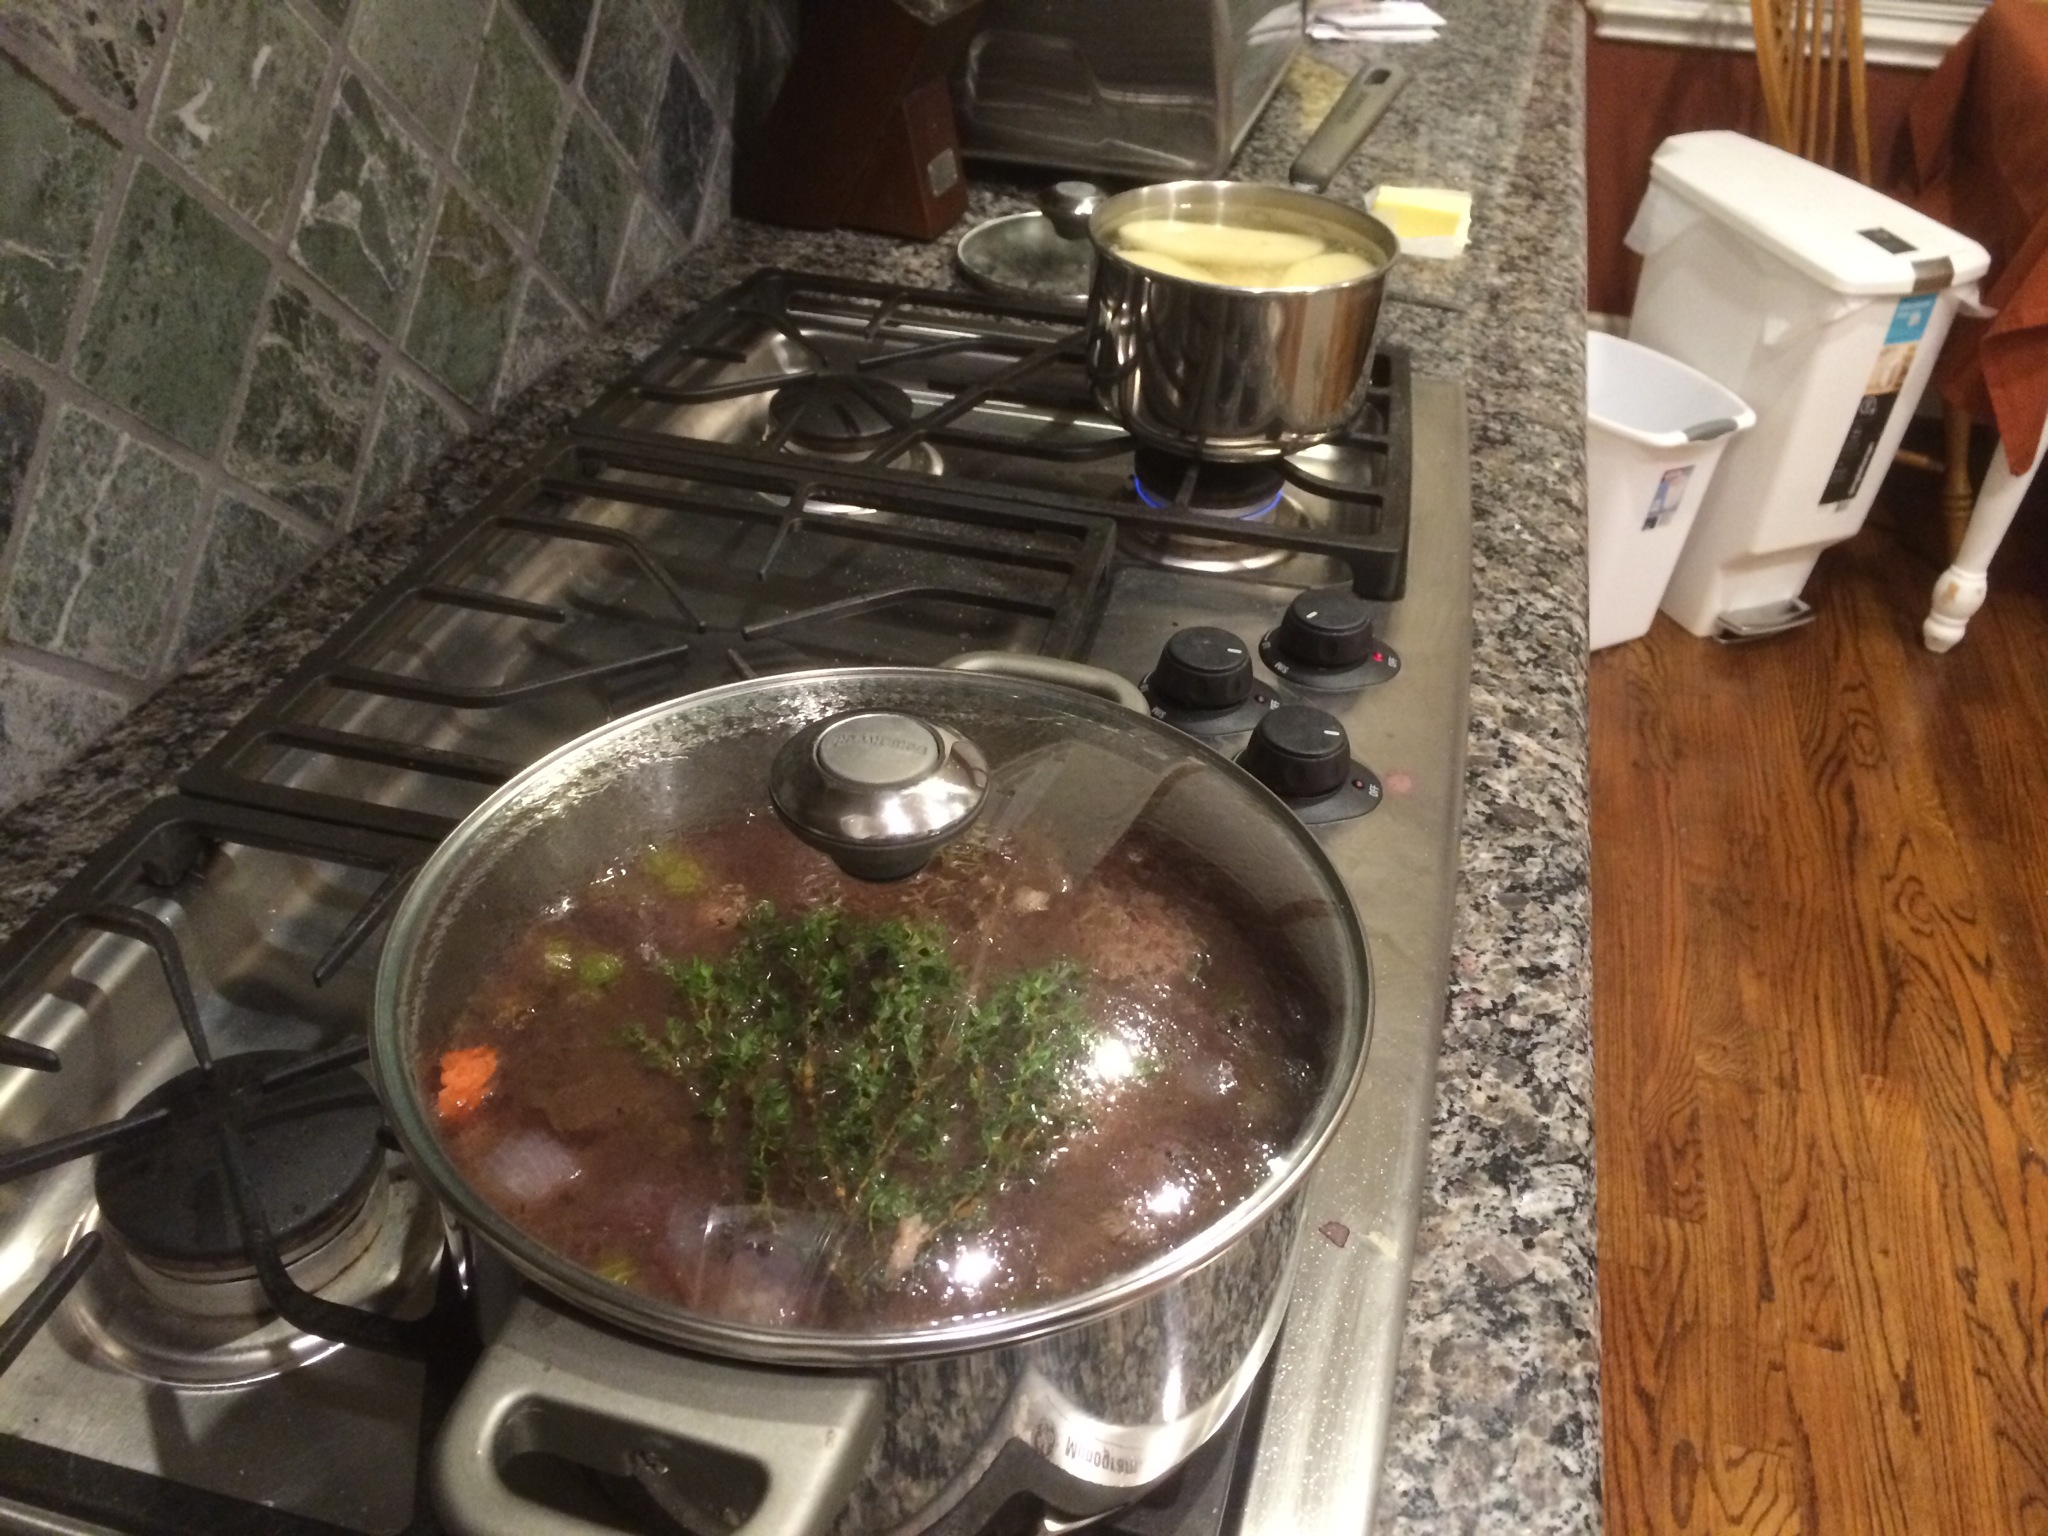
Thanksgiving is upon us once again. My how the year has flown. This post is going to be mostly food-related. For the first time in a month or so, I was actually able to make myself a decent home-cooked meal. I went all out and got the nice USDA choice beef and made some beef stew (since it was pretty cold out).
Here are all the ingredients you really need for this type of stew (wine and beef stock are not shown, and I used about half a bottle).
This particular stew does not have potatoes in the stew. Rather, the idea is to spoon the stew over mashed potatoes once its done. This is to done to provide some separation of the starch from the stew (so the stew doesn’t become too starchy).
I also did quite a bit of cooking for family and coworkers.
Last year, I was into making crab artichoke dip in a breadbowl and turducken. This year, I put the focus on fruit tarts and turkey ballotine (but mostly fruit tarts).
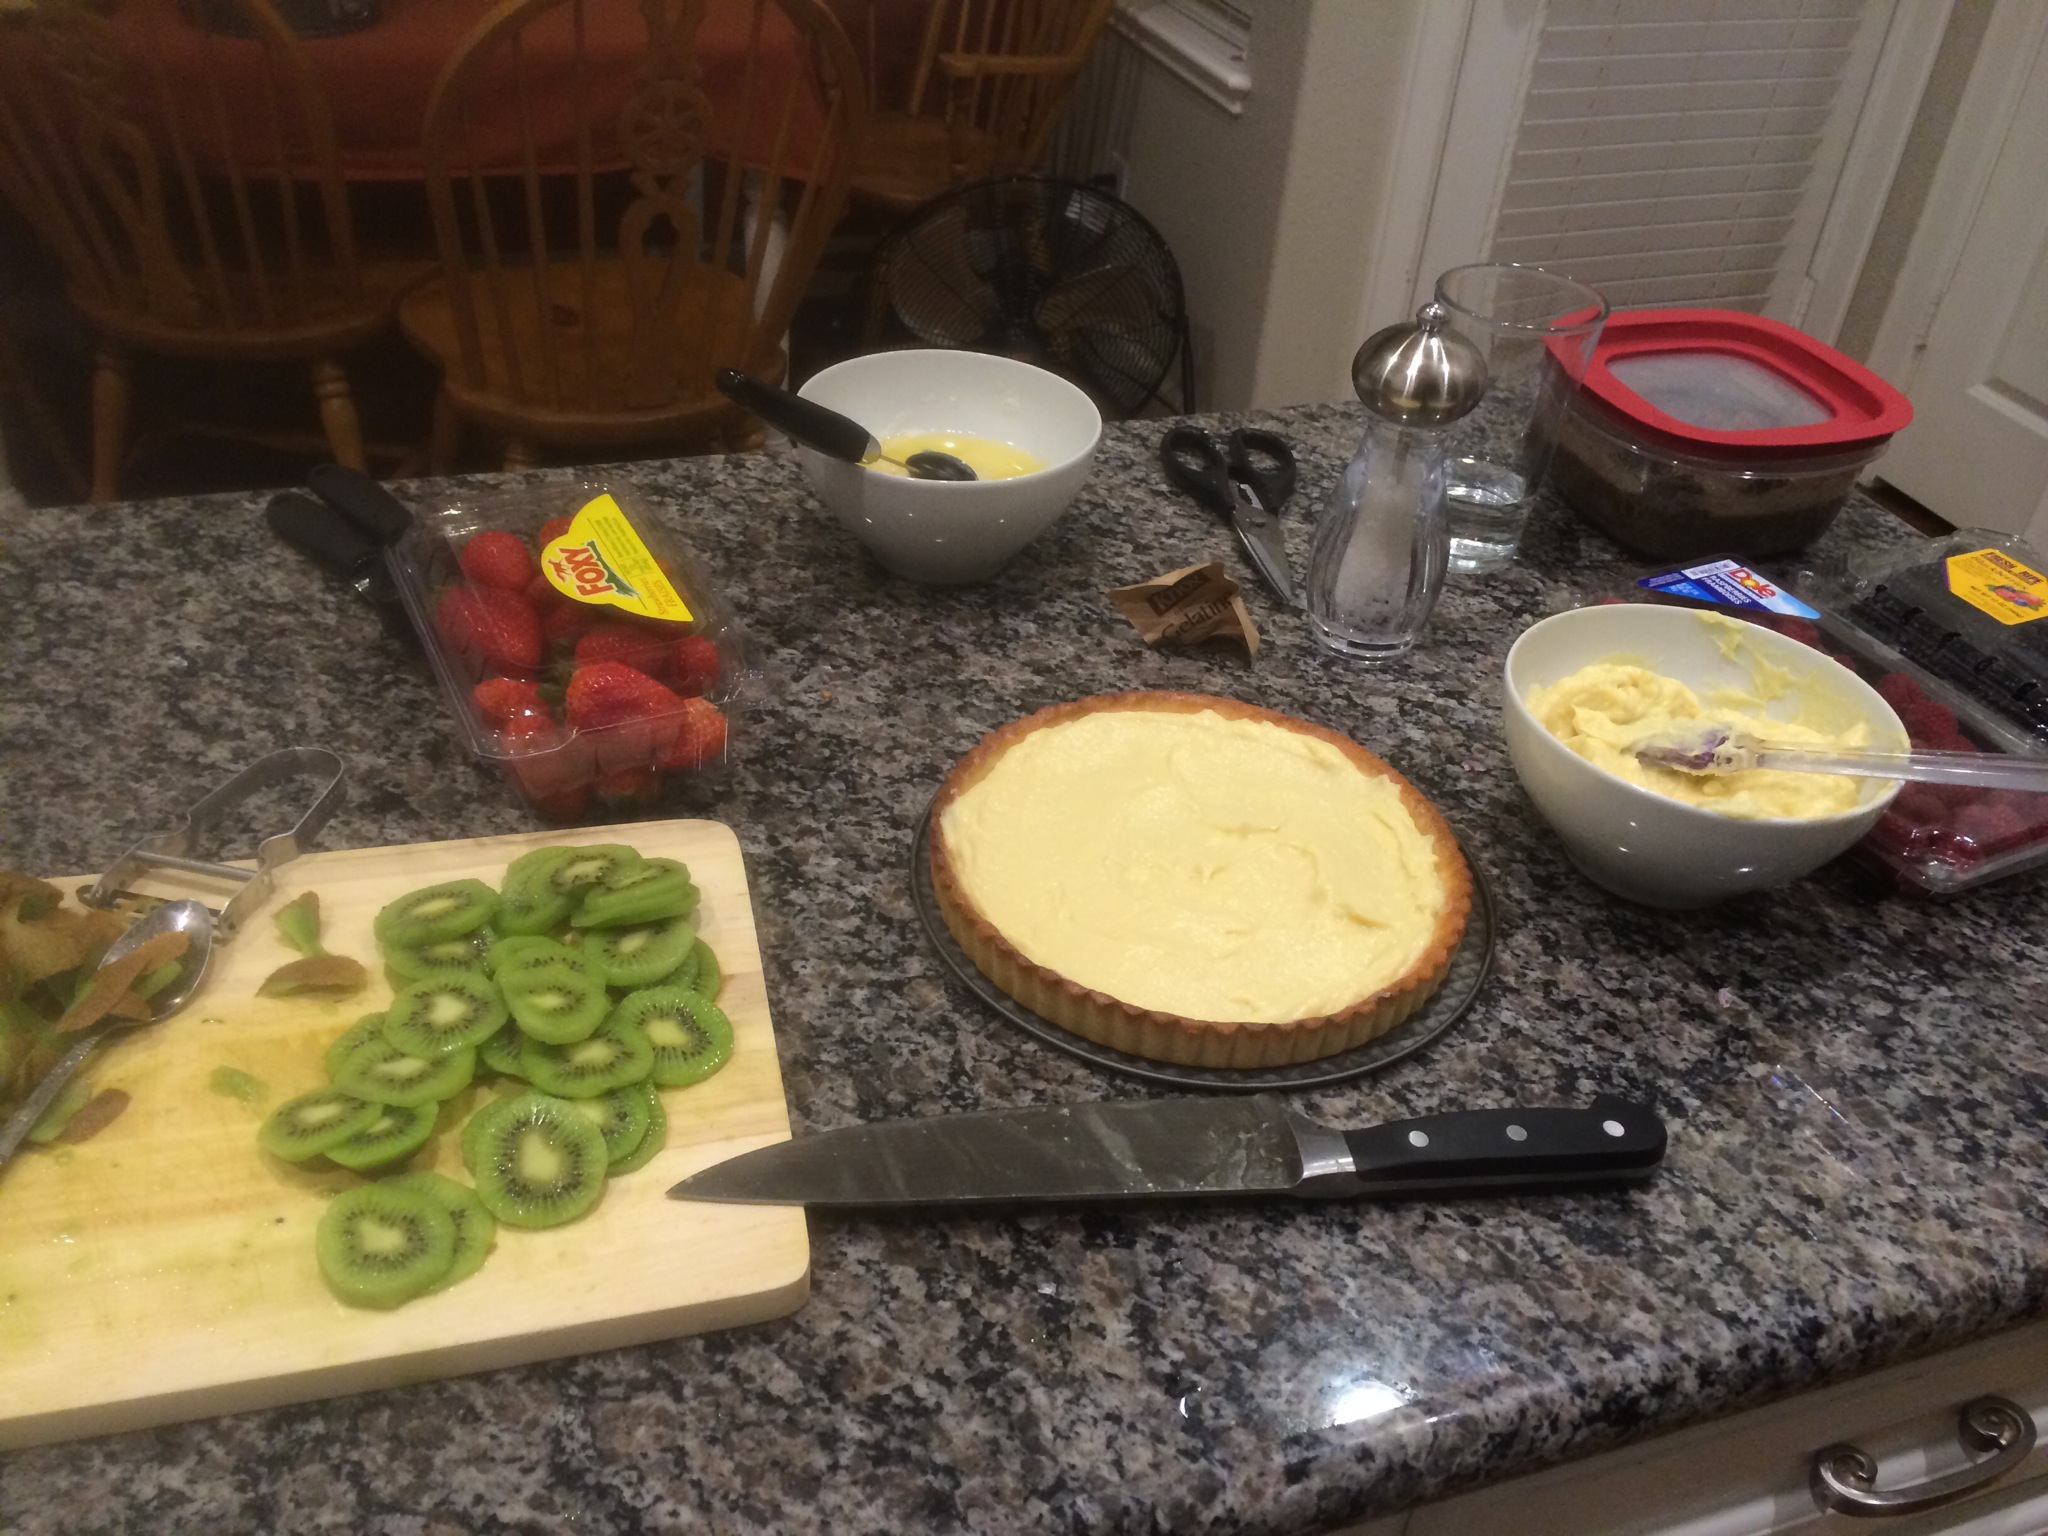
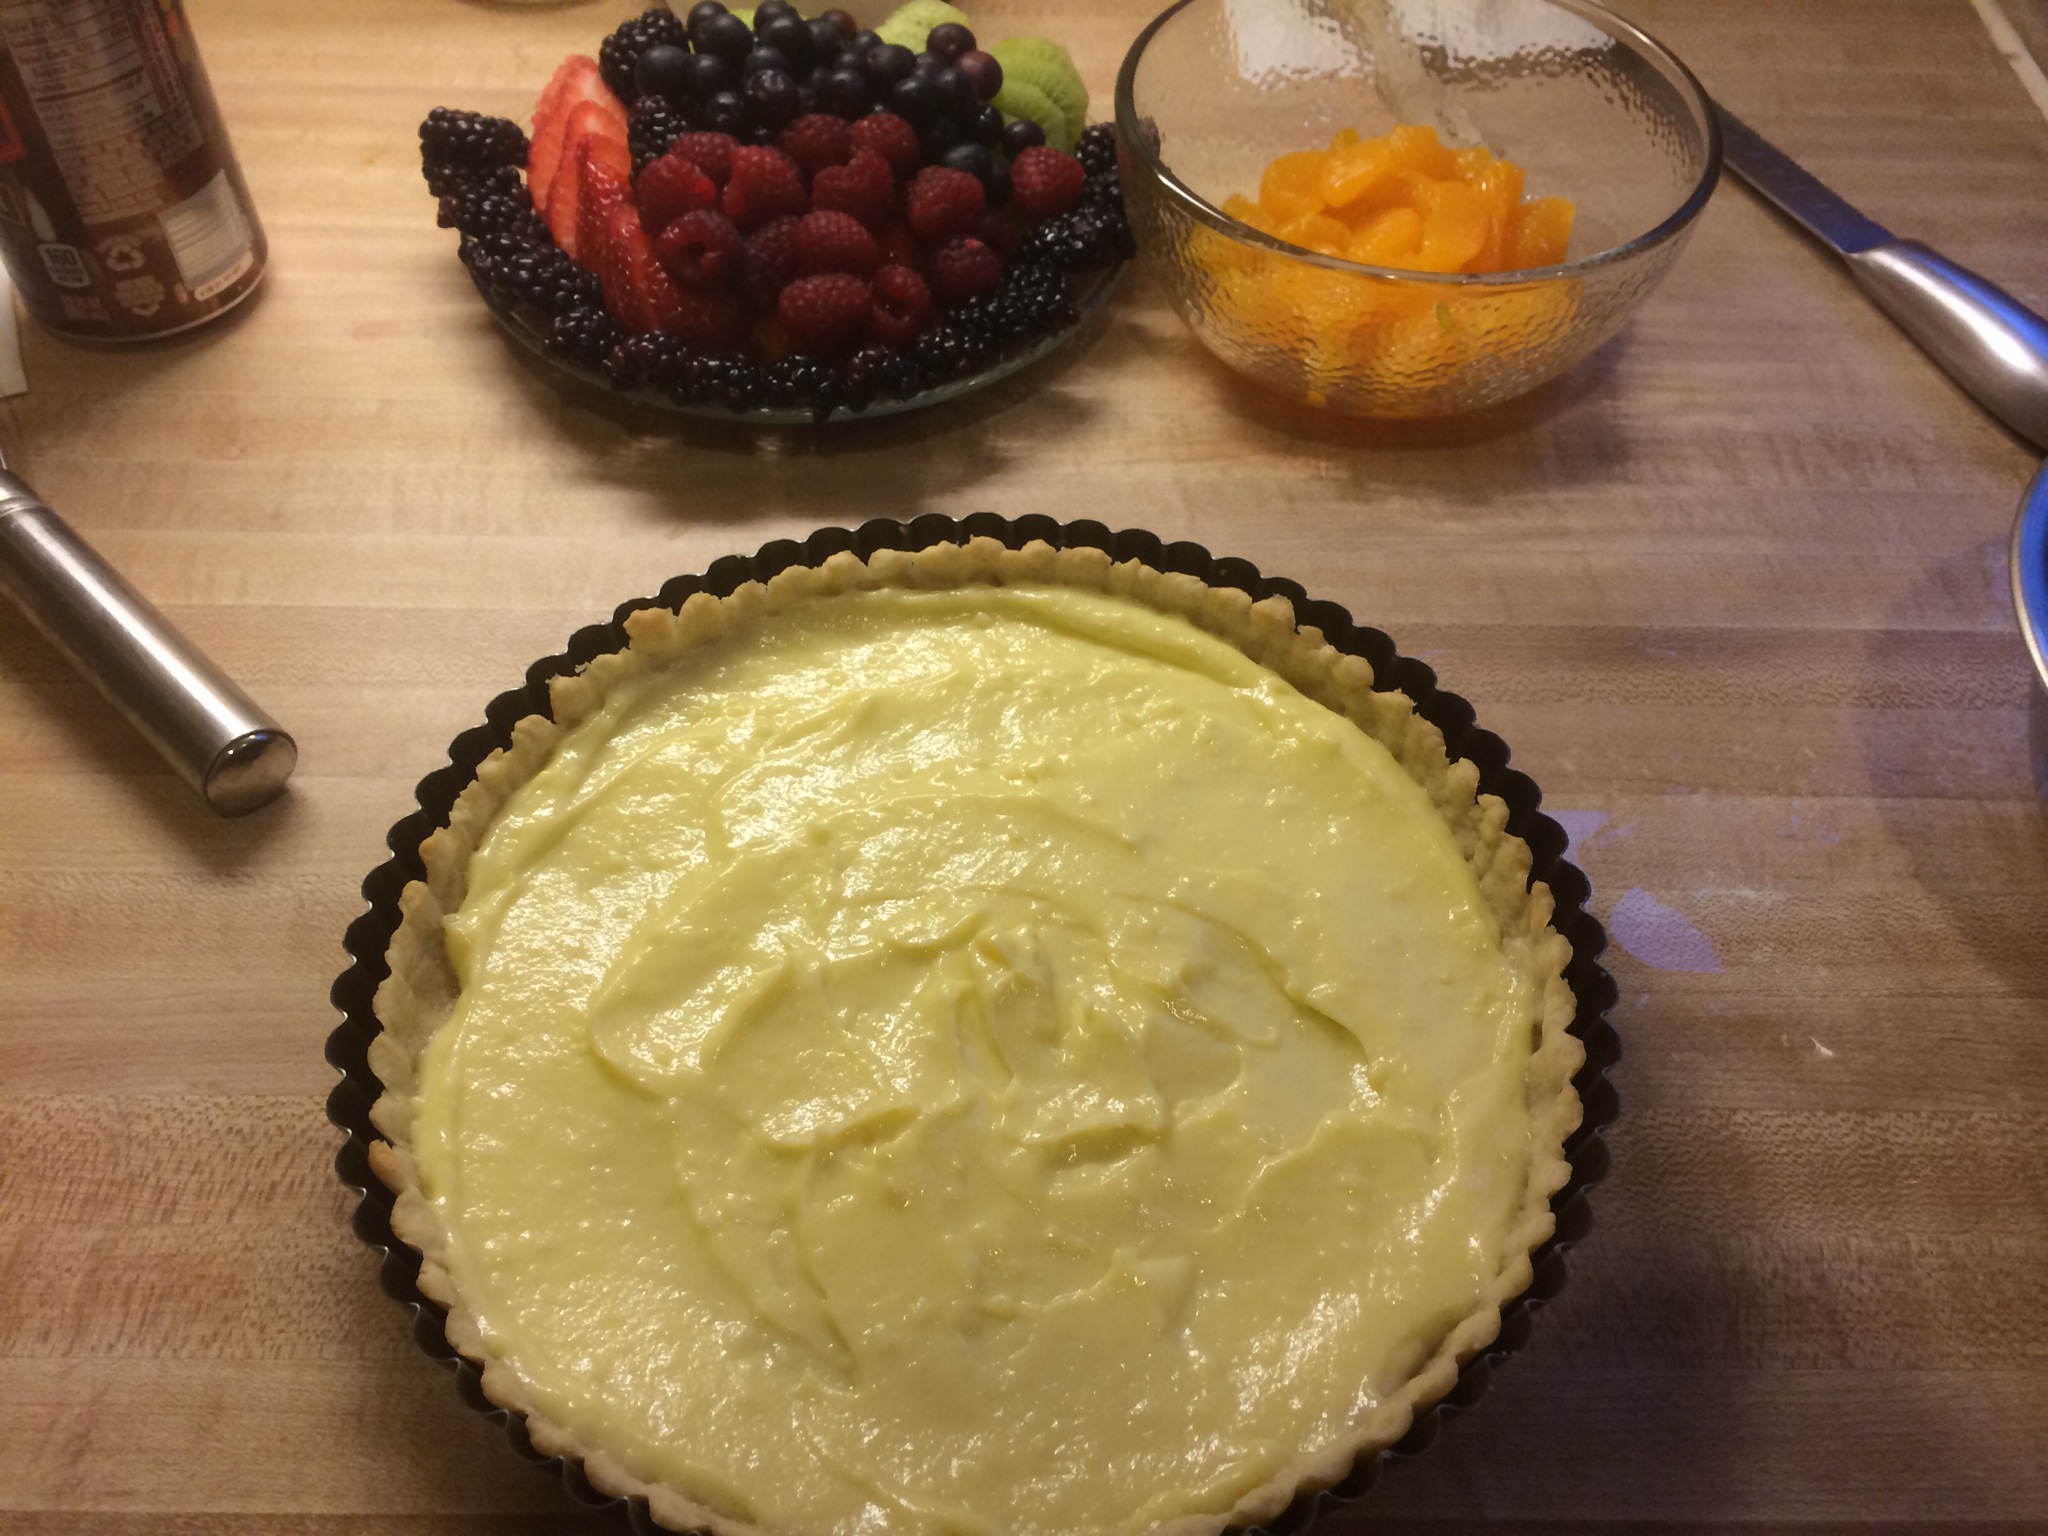
Here we have a completed pre-baked pastry shell and some pastry filling, all made from scratch.
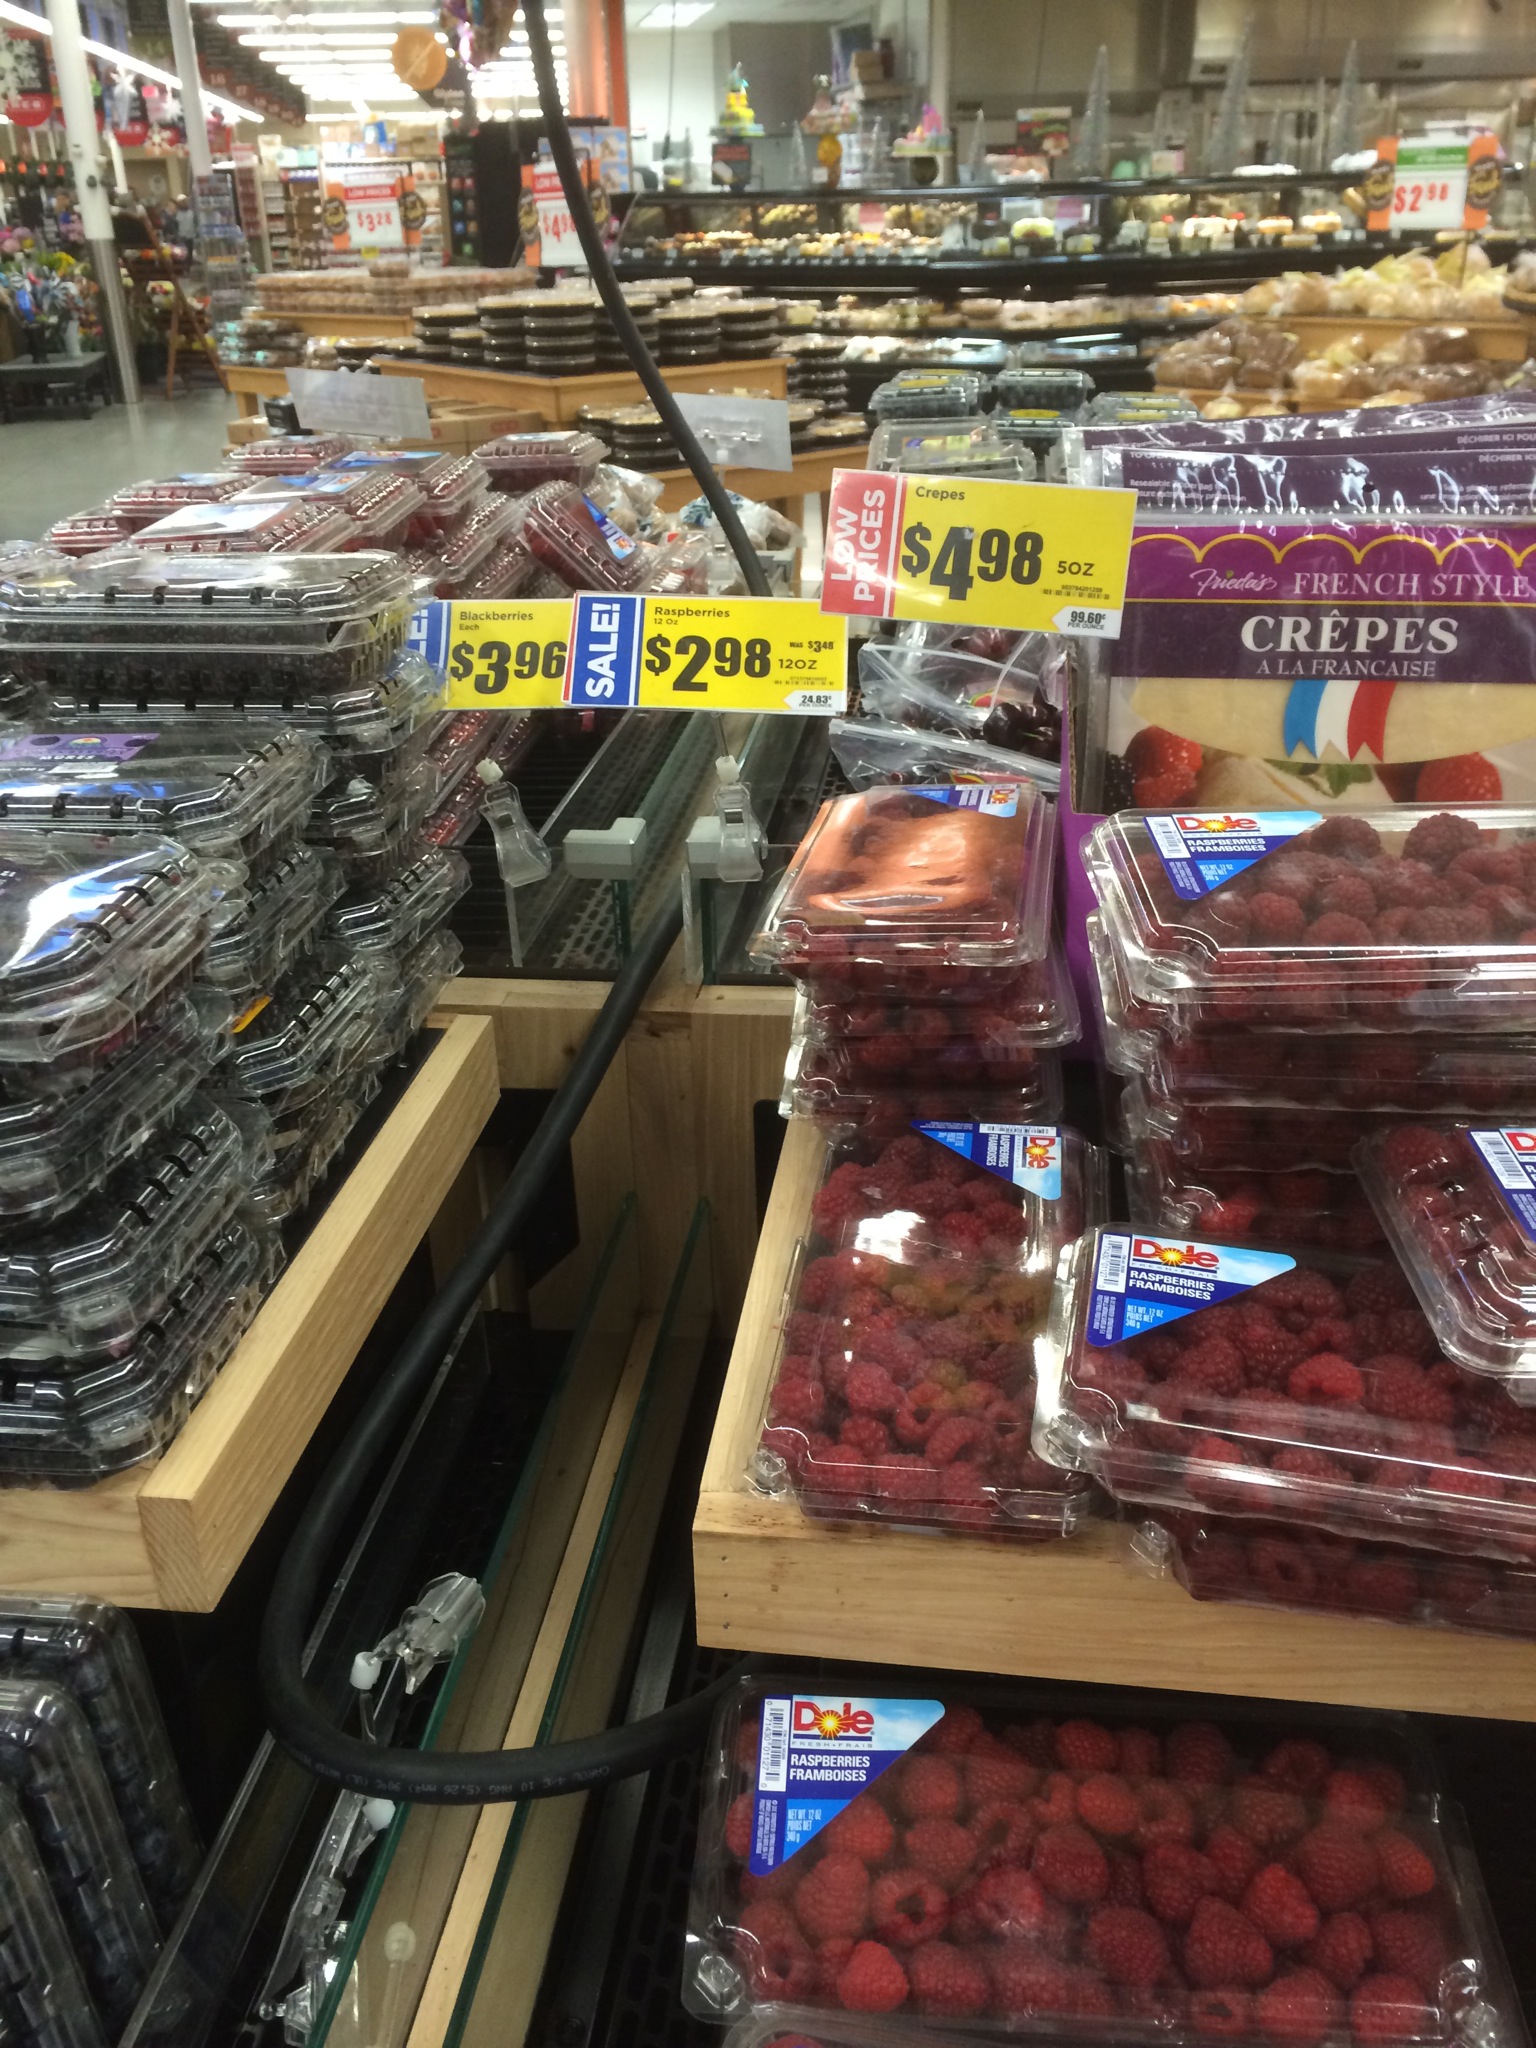
I was pretty fortunate with the fruit as it was on sale when I went shopping.
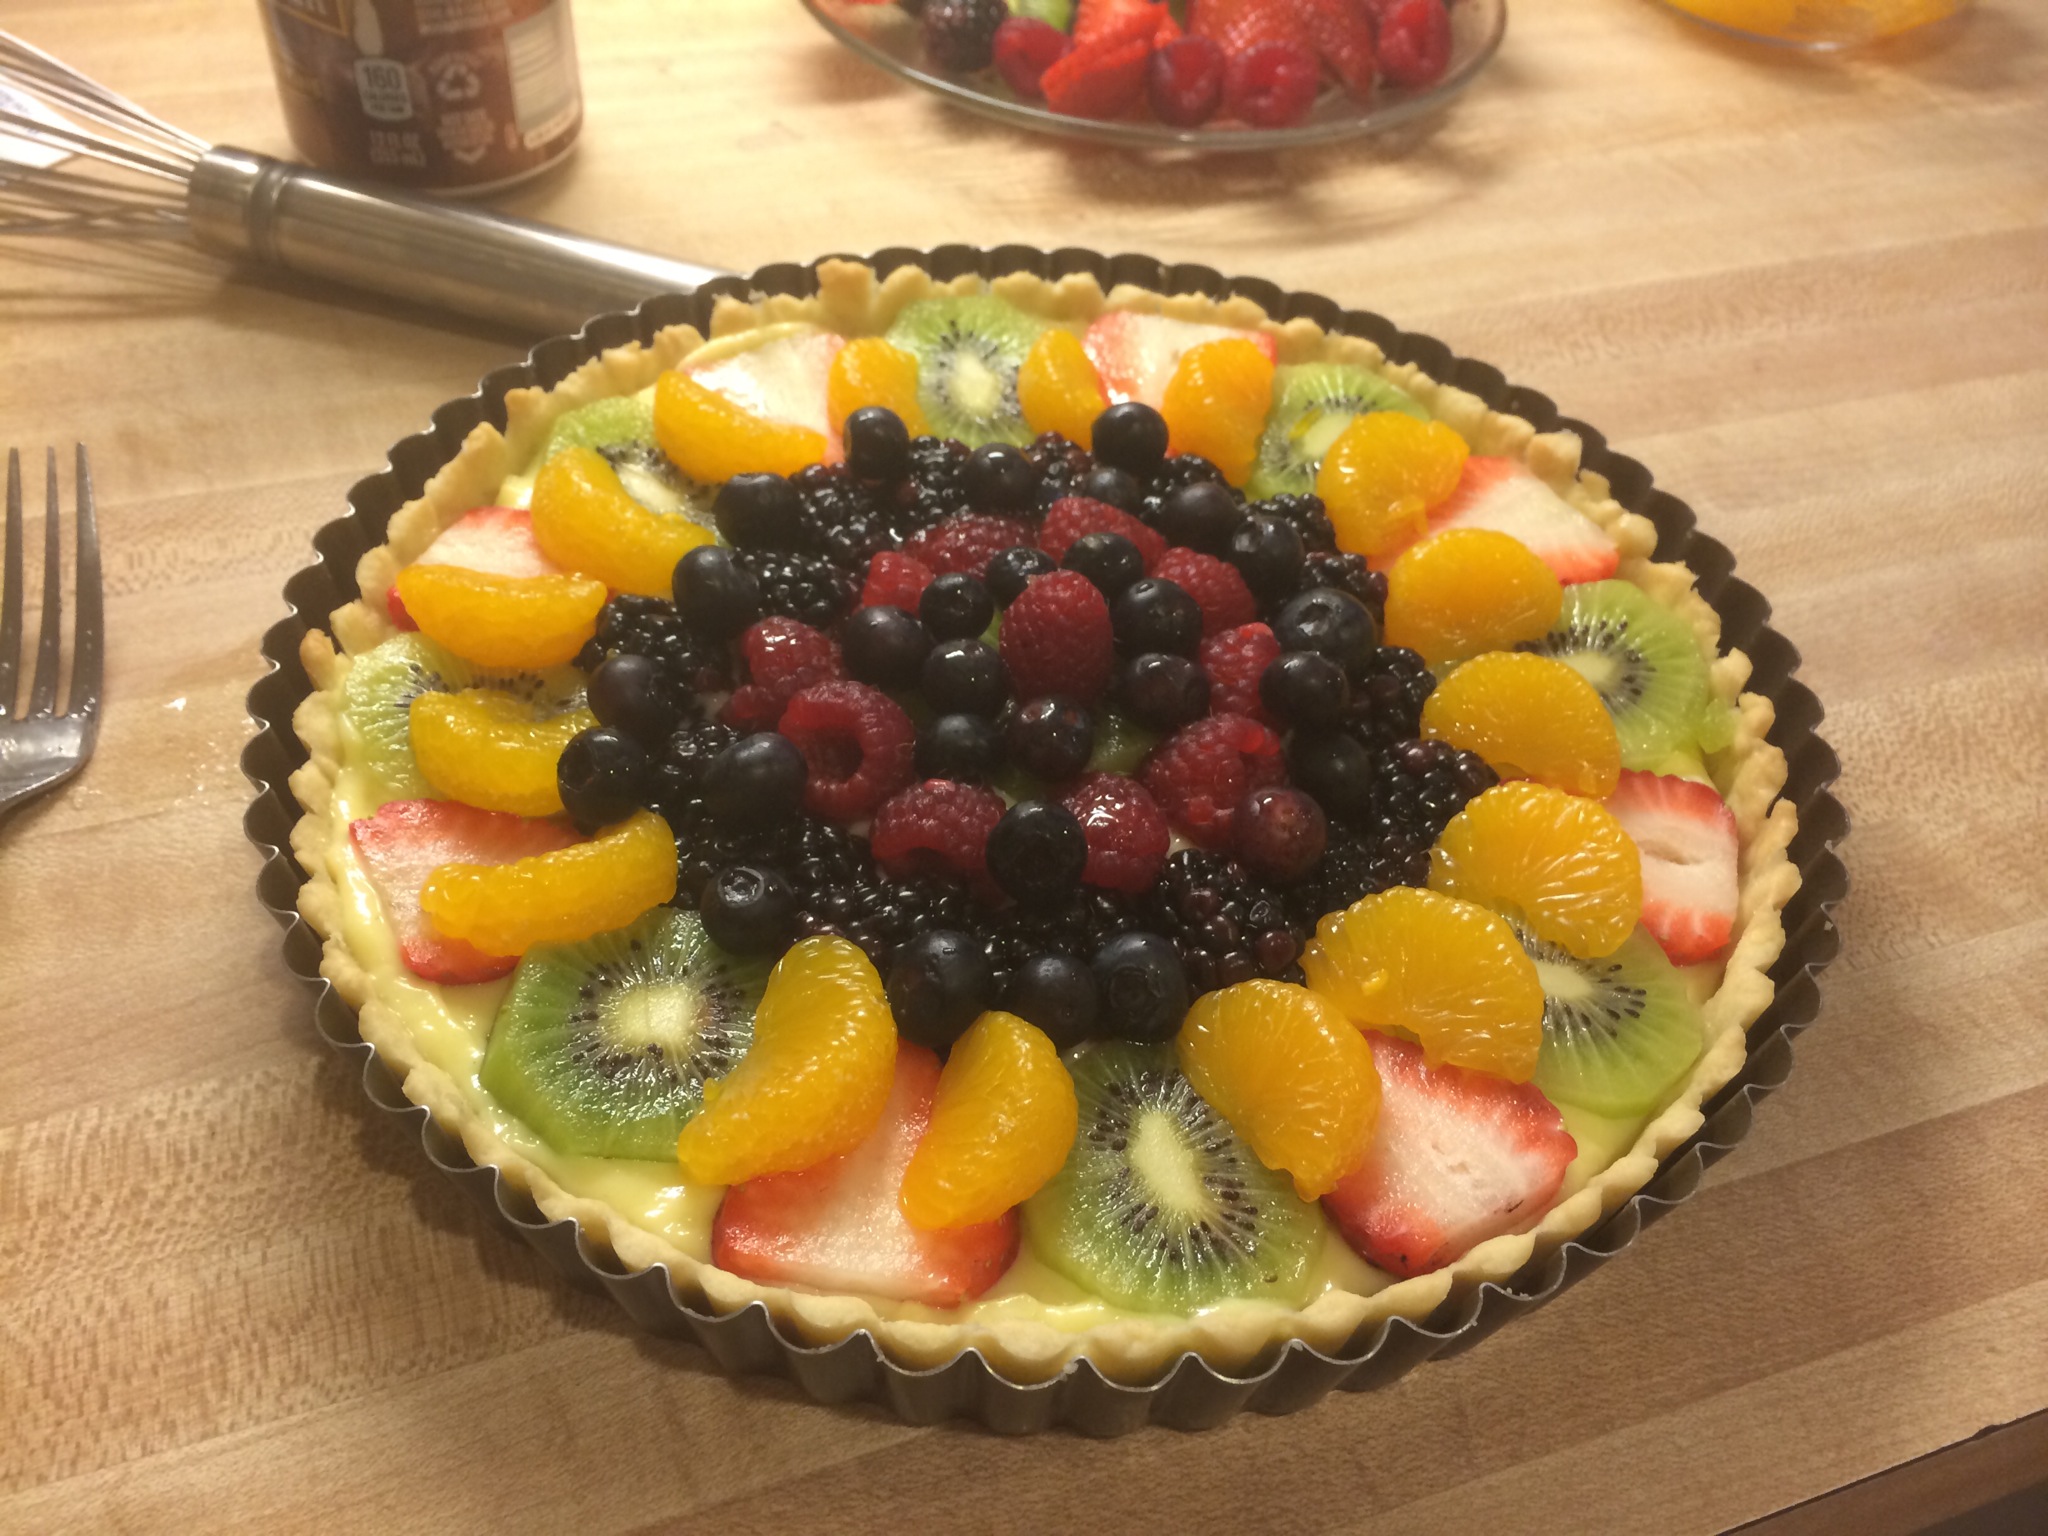
These are the finished products that I took with me to a company potluck. I didn’t gel the fruit since I’m a noob at making gelatin. But, I was able to get it done for the fruit tart that I made for the family. Speaking of which…
For the family, I deboned a turkey, reduced some turkey gravy from the bones, and made a fruit tart from scratch. I took some (sorta) step-by-step photos on the major steps to deboning, stuffing, and tying the turkey up.
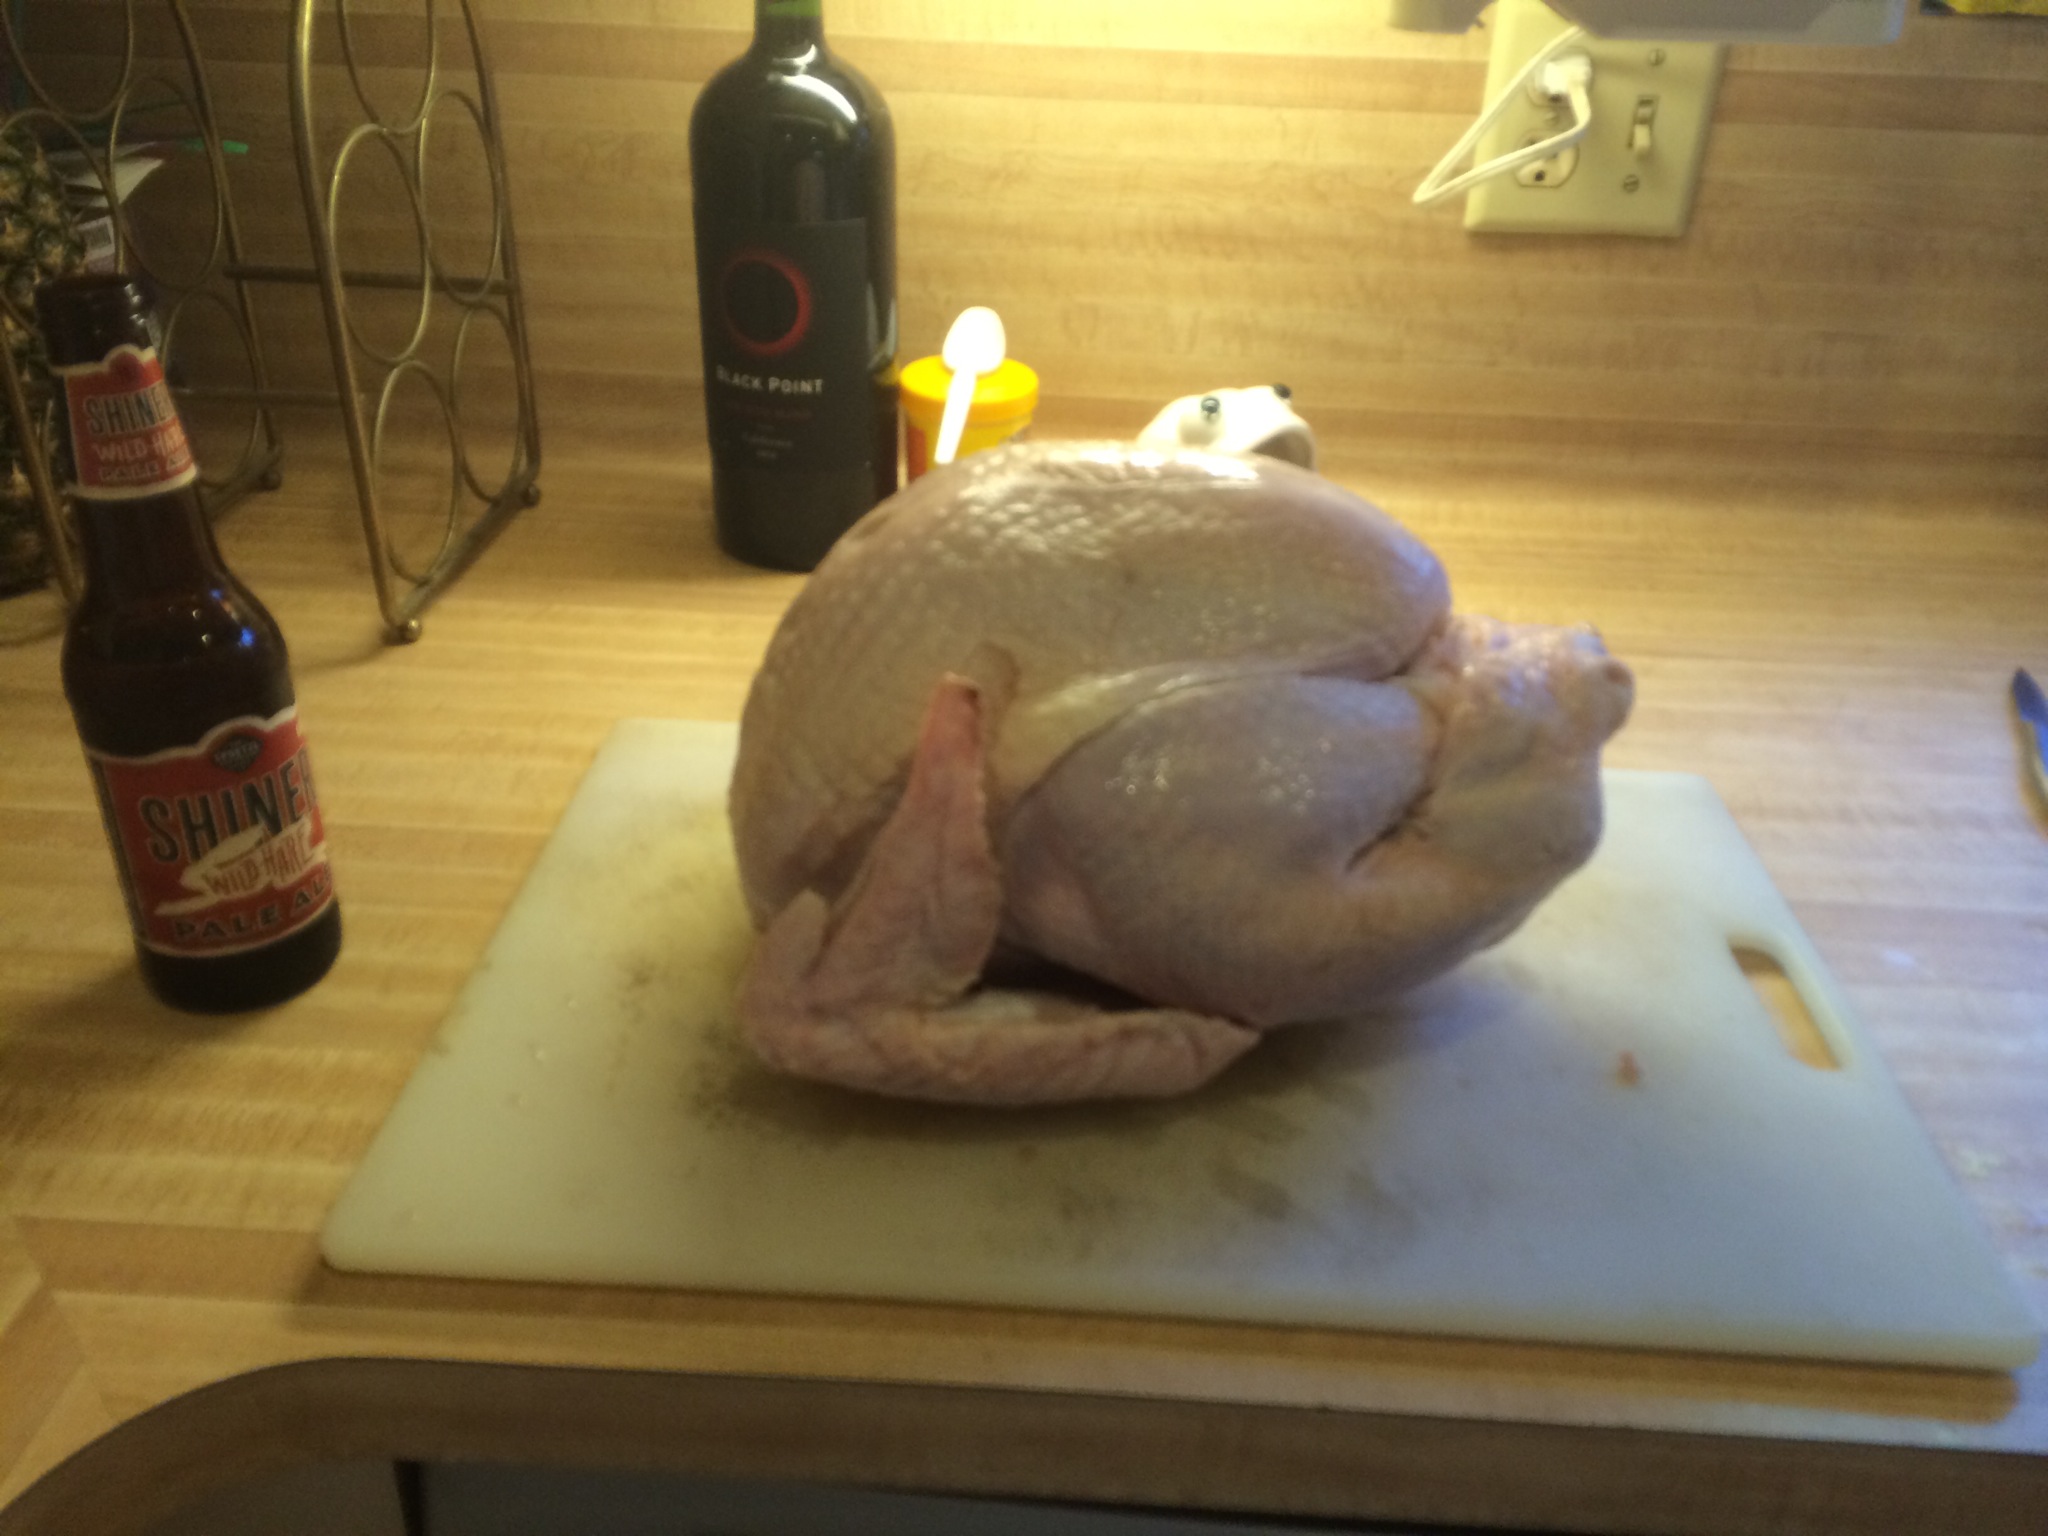
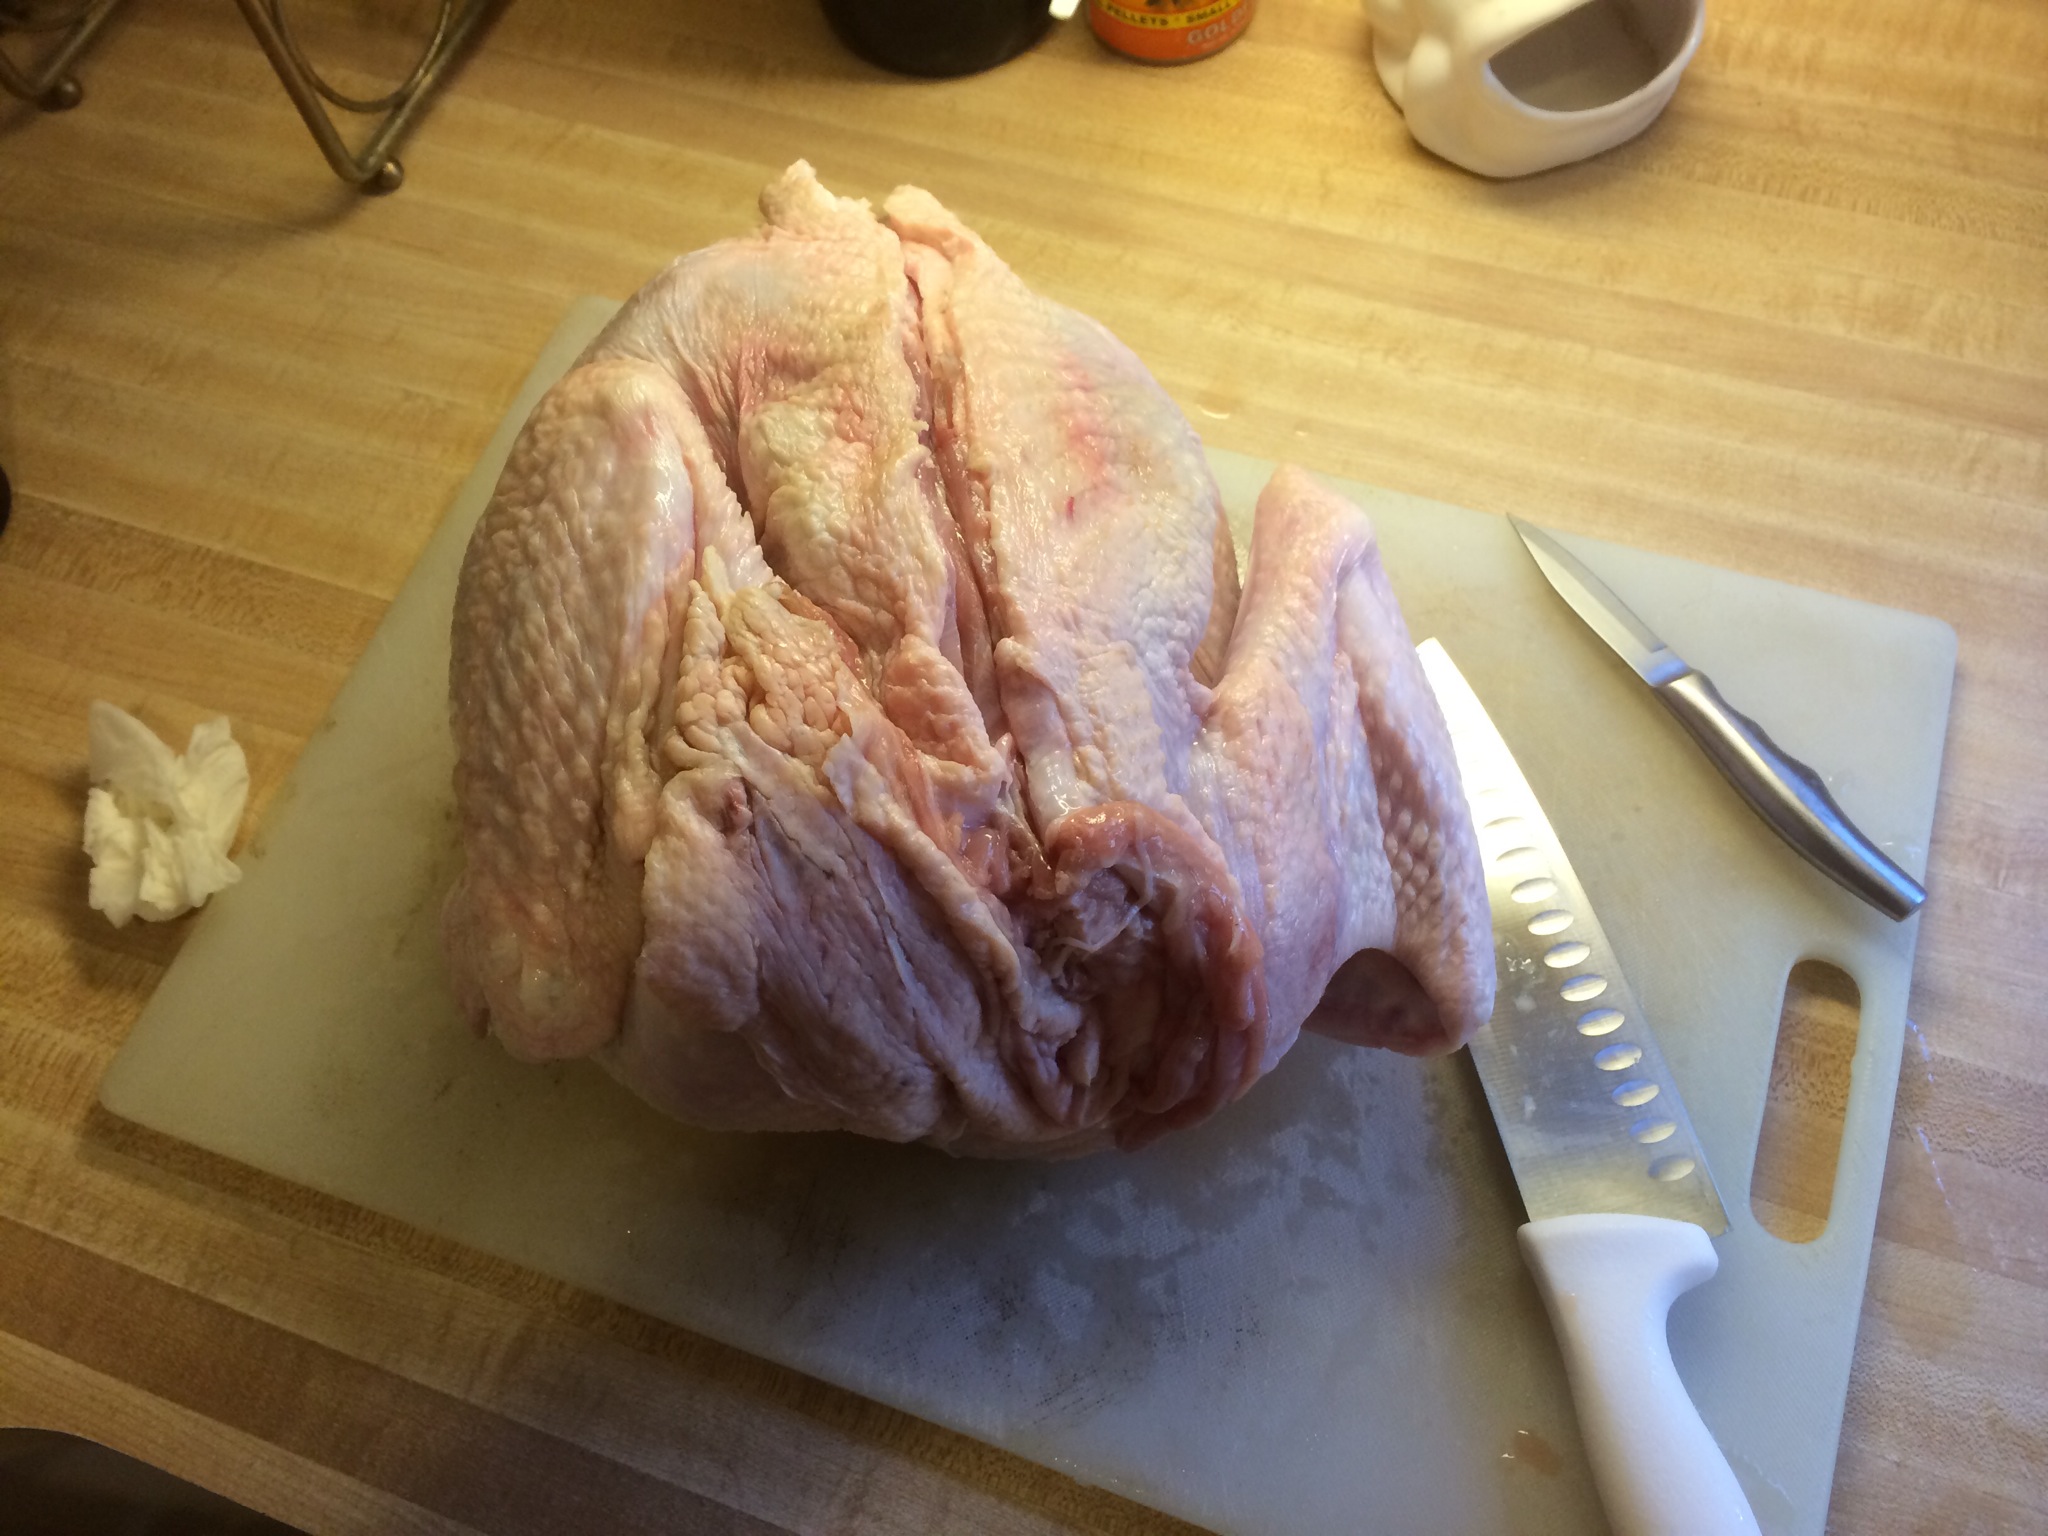
Here is a 12-lb turkey. The beer makes everything a little more fun, but it’s optional.
I actually never used the small knife. It was just there to look pretty. Before this, I actually removed the wishbone (and I should have cut the wings off, but I forgot). This is a skin-deep cut along the spine of the turkey.
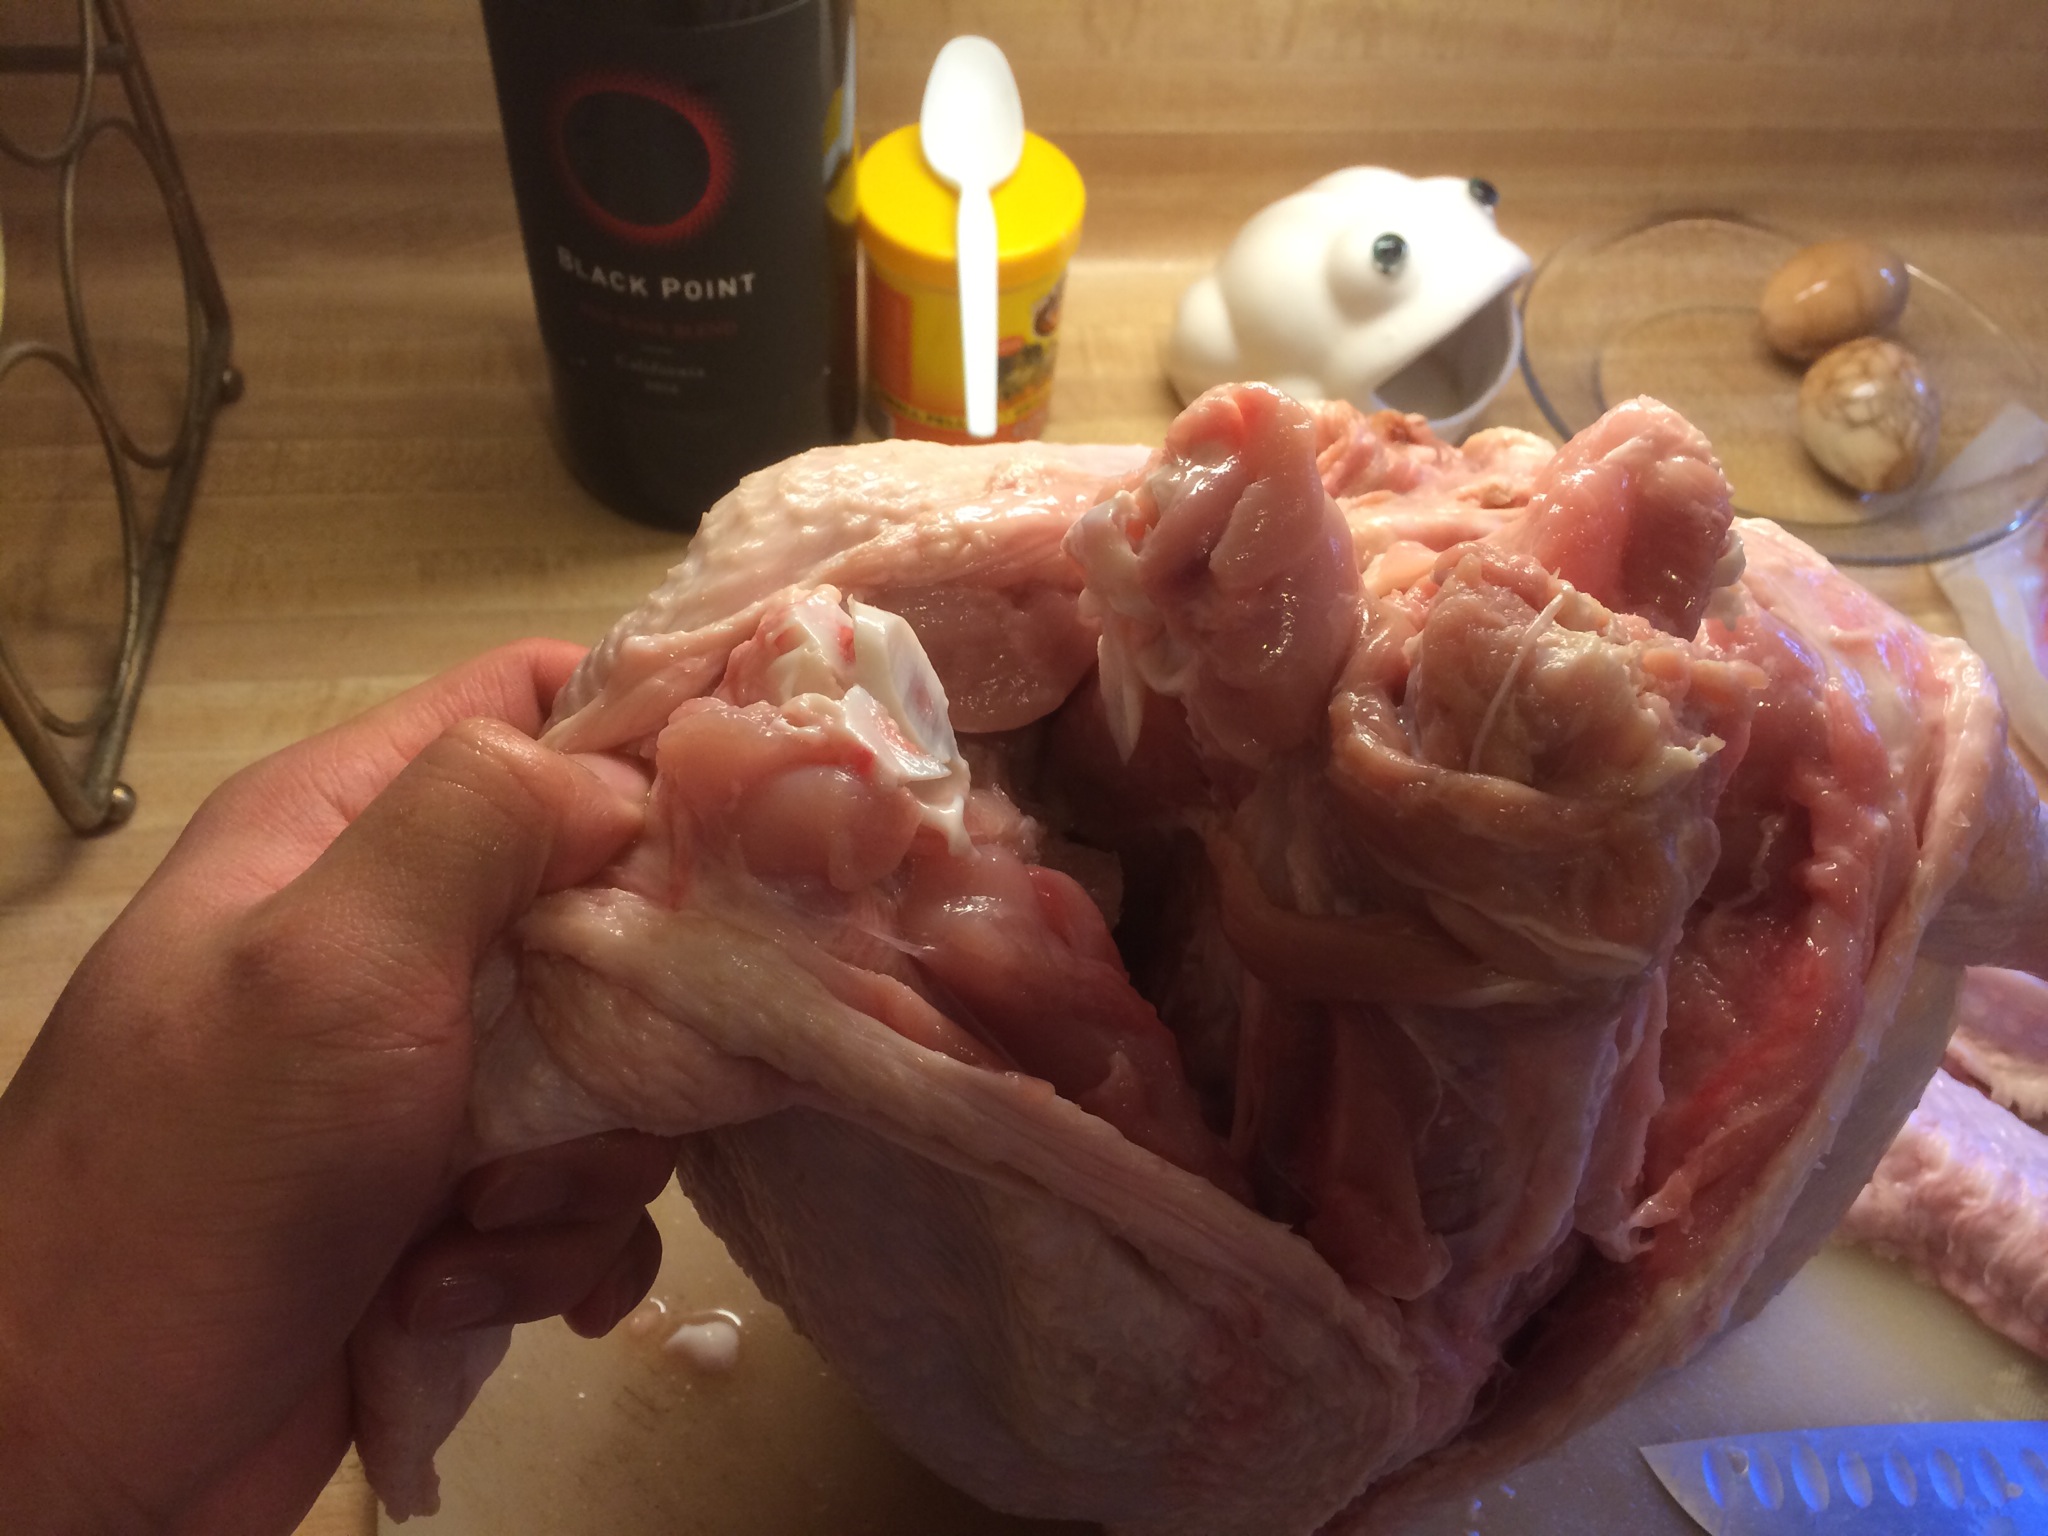
At the point I remembered that it was much easier to handle if I cut the wings off. I then separated the wings from the carcass by cutting through the cartilage at the joint. The proper cutting point may be found by articulating the wing and feeling around.
Here is a closeup of that cut. The wing is in my left hand, and you can see the clear cut through the cartilage, separating the wing from the main carcass/ribcage.
With the wings separated from the carcass, I simply ran my finger along the carcass, separating the meat from the carcass (no muscles get in the way), until I came across the oysters. These are the muscles for the legs, I think. I made a simple cut through the oysters and continued peeling the meat away from the body.
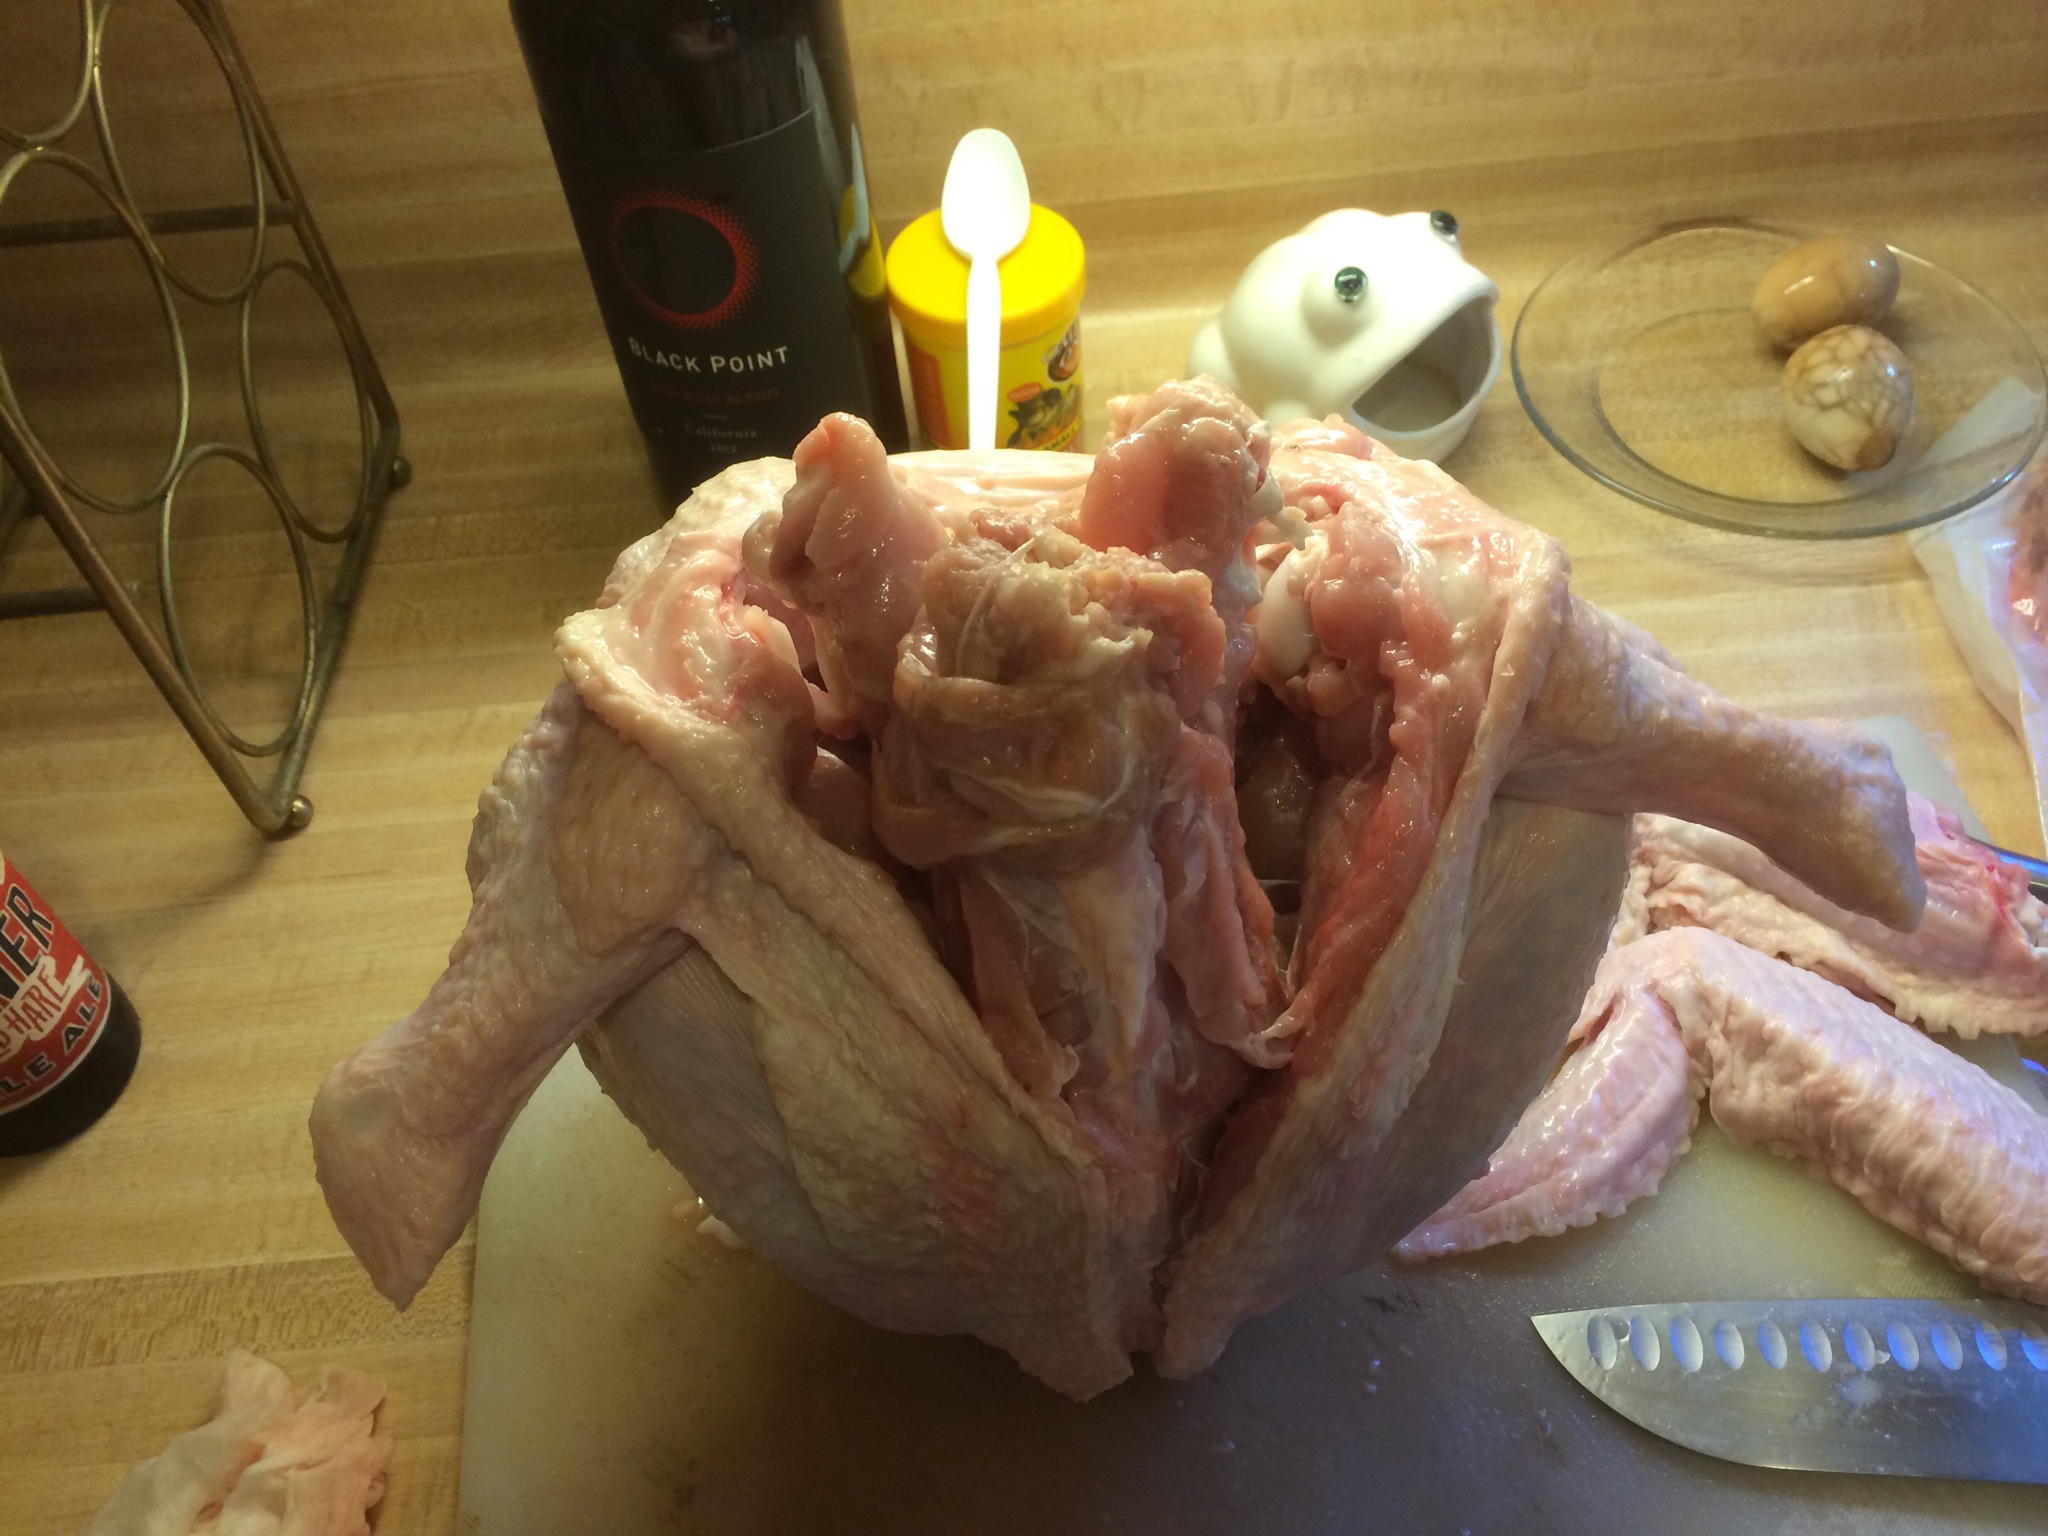
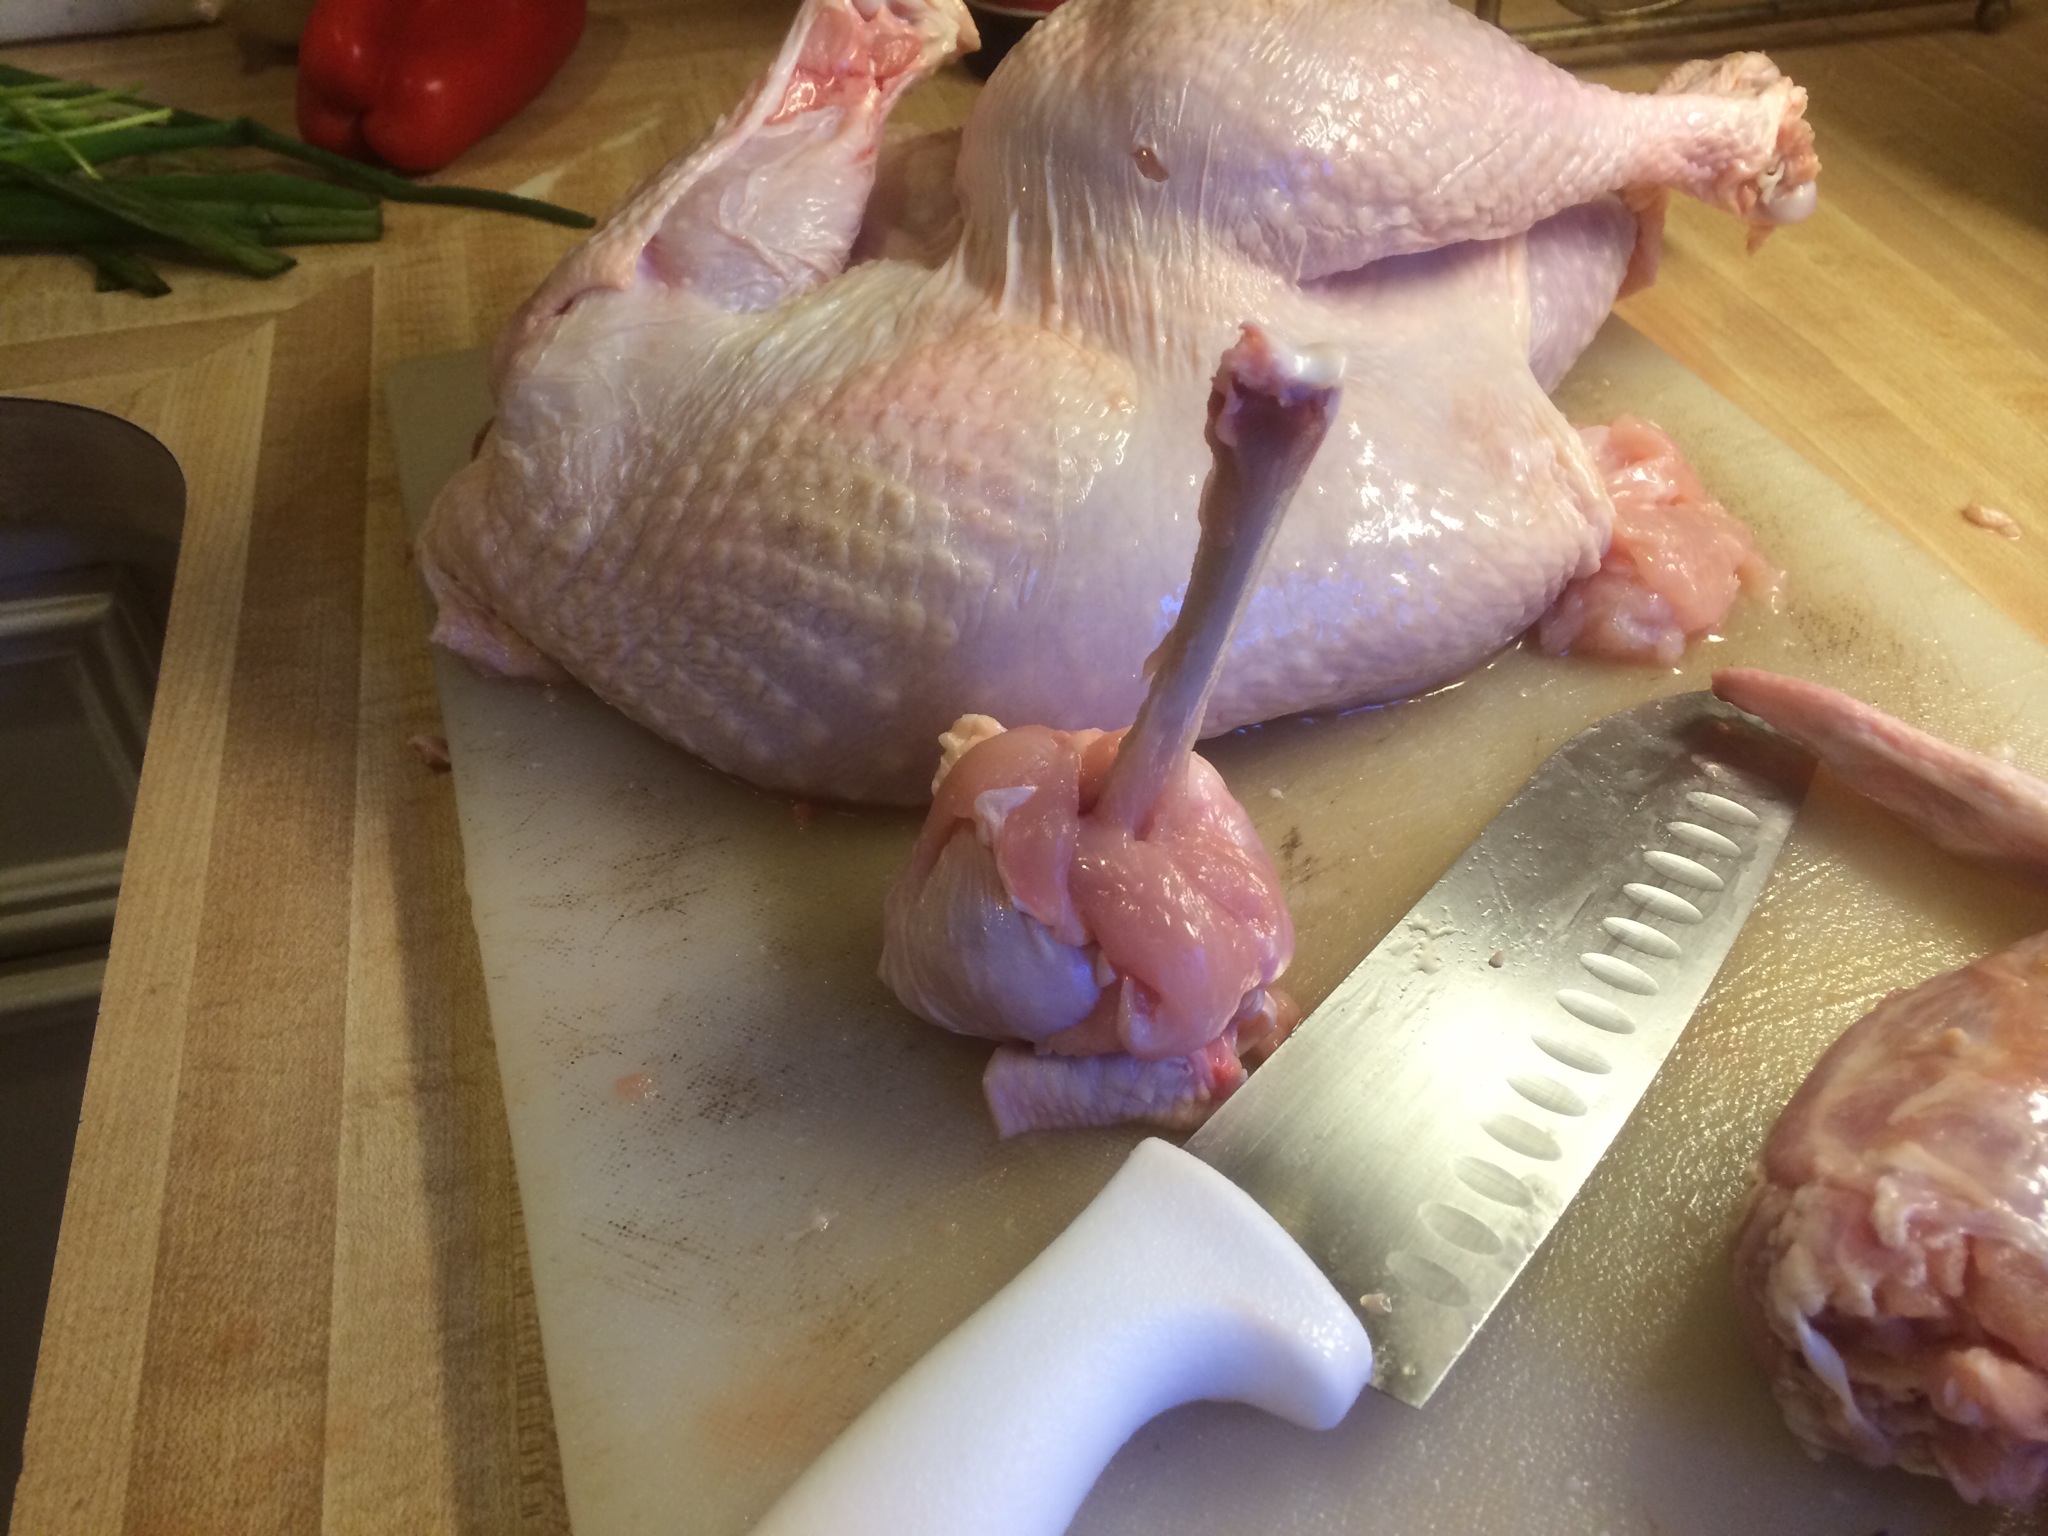
Here you can see the oysters on the right side that have been cut, and the main carcass standing straight up. On the left side, you will have to break a piece of cartilage (can be done with fingers) that holds the breast meat against the tenderloins.
This joint is where the leg bone connects to the carcass (not sure if carcass is the proper term for the “central set of bones/ribcage.”). It needs to be popped out and then cut with a knife before the carcass may be freed from the meat.
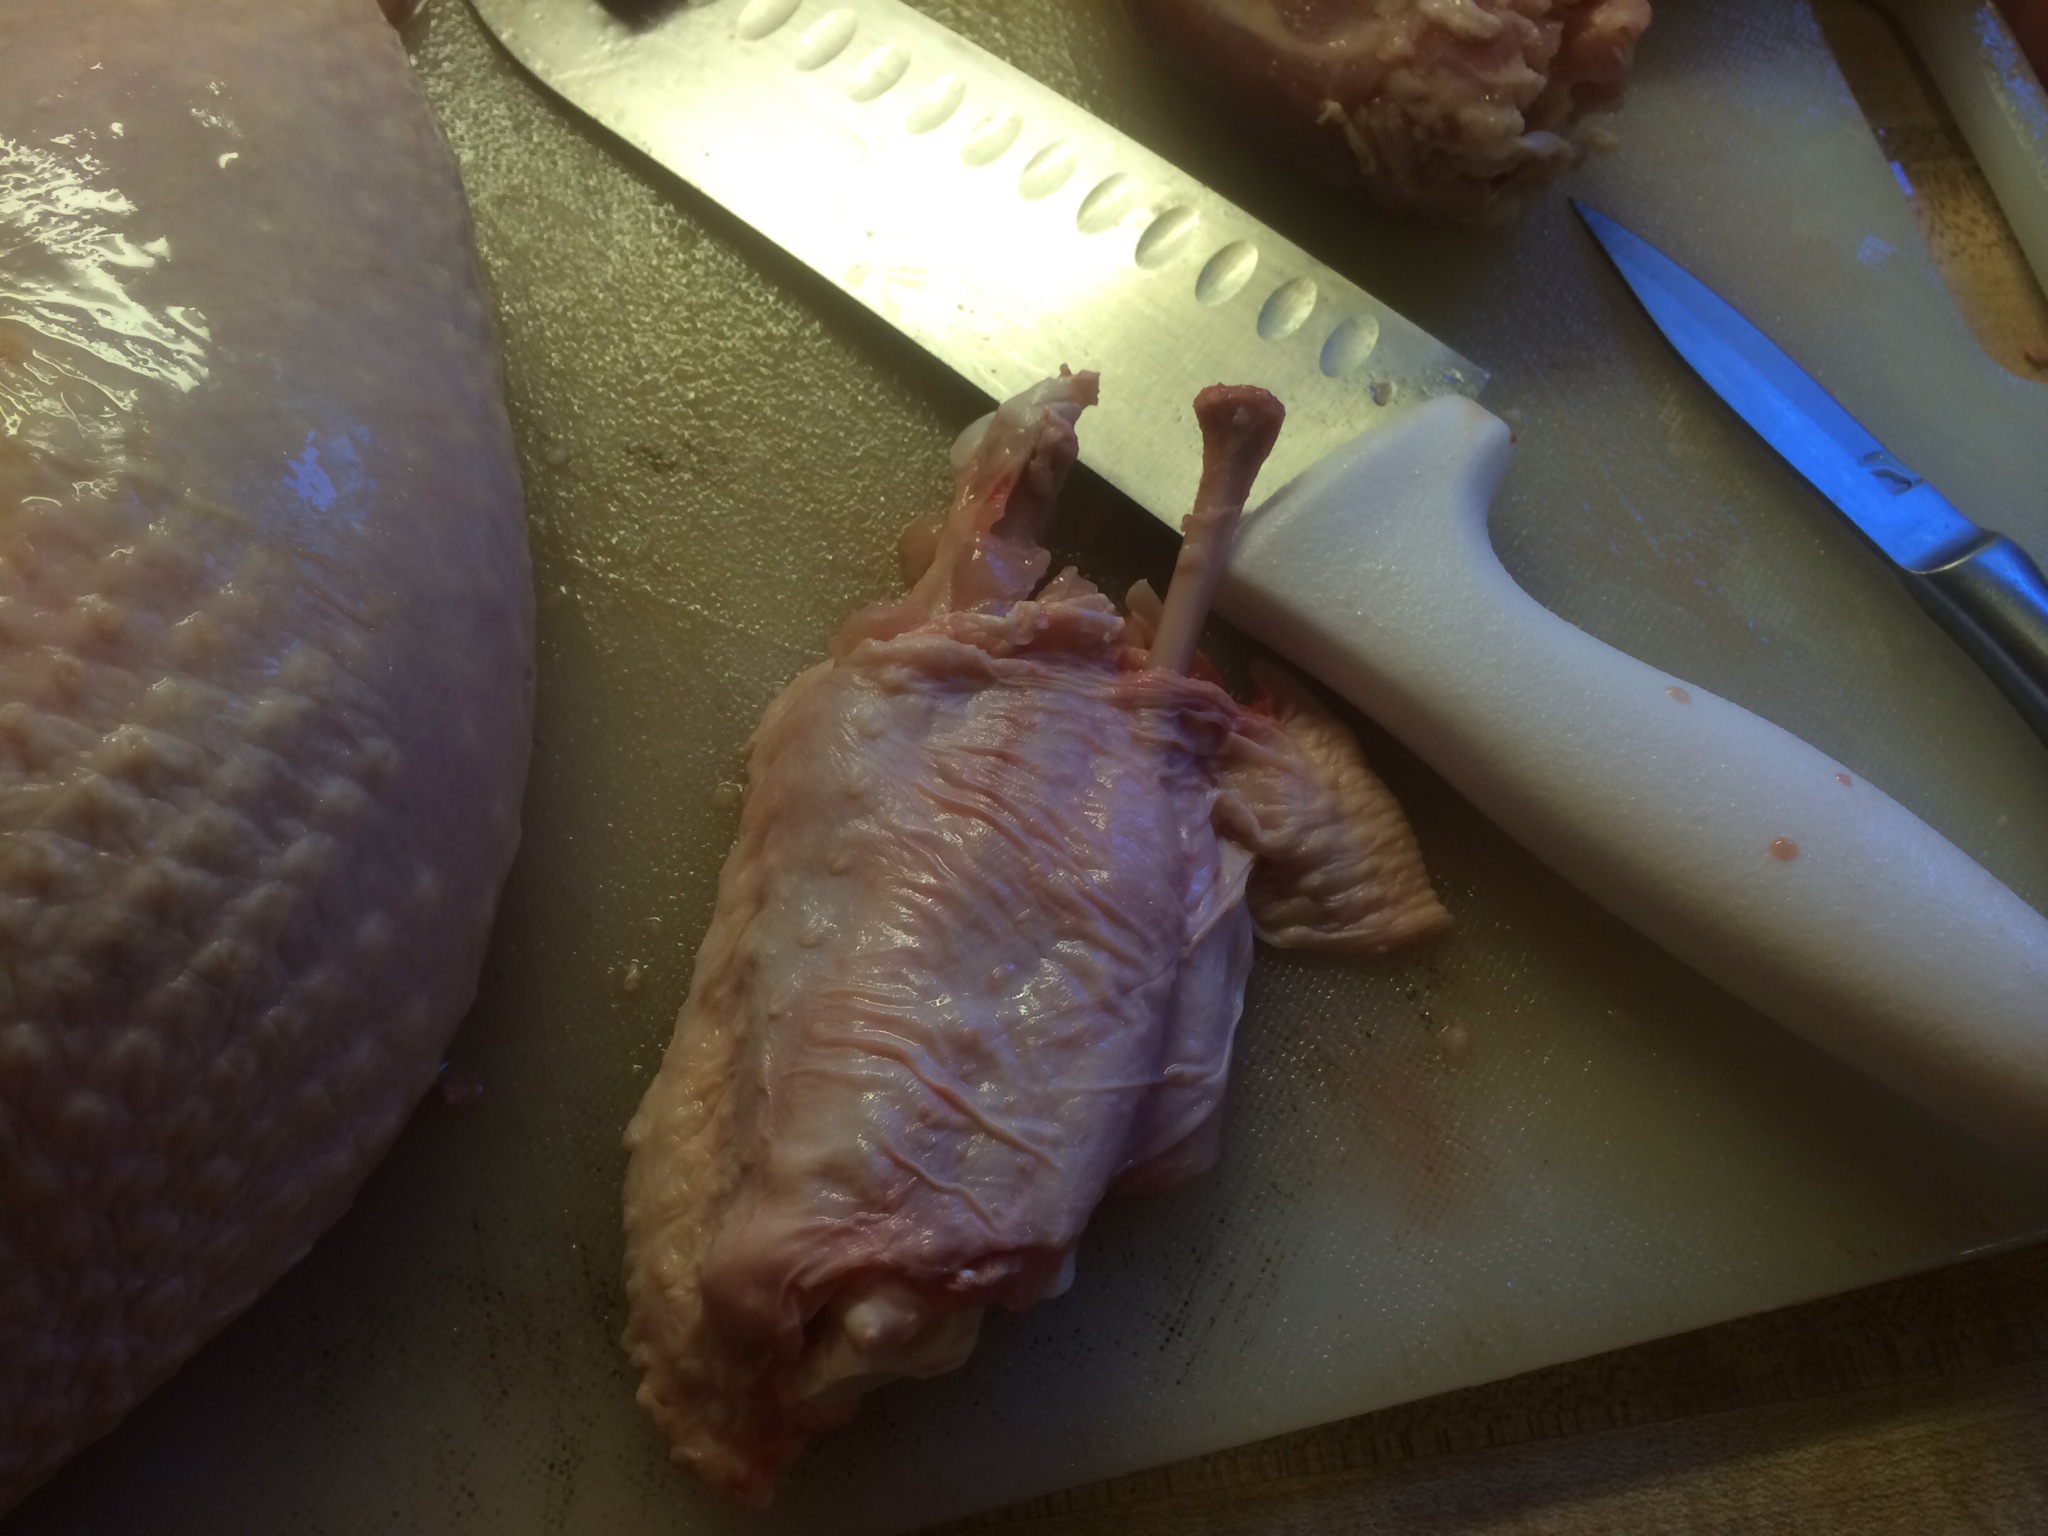
As an aside, here’s a shot of the lollipops I made. This is the flat part of the wing, with the two bones popped out.
All I did was remove the smaller bone, and peel back the meat to form this nice little “lollipop” that can be fried or just baked.
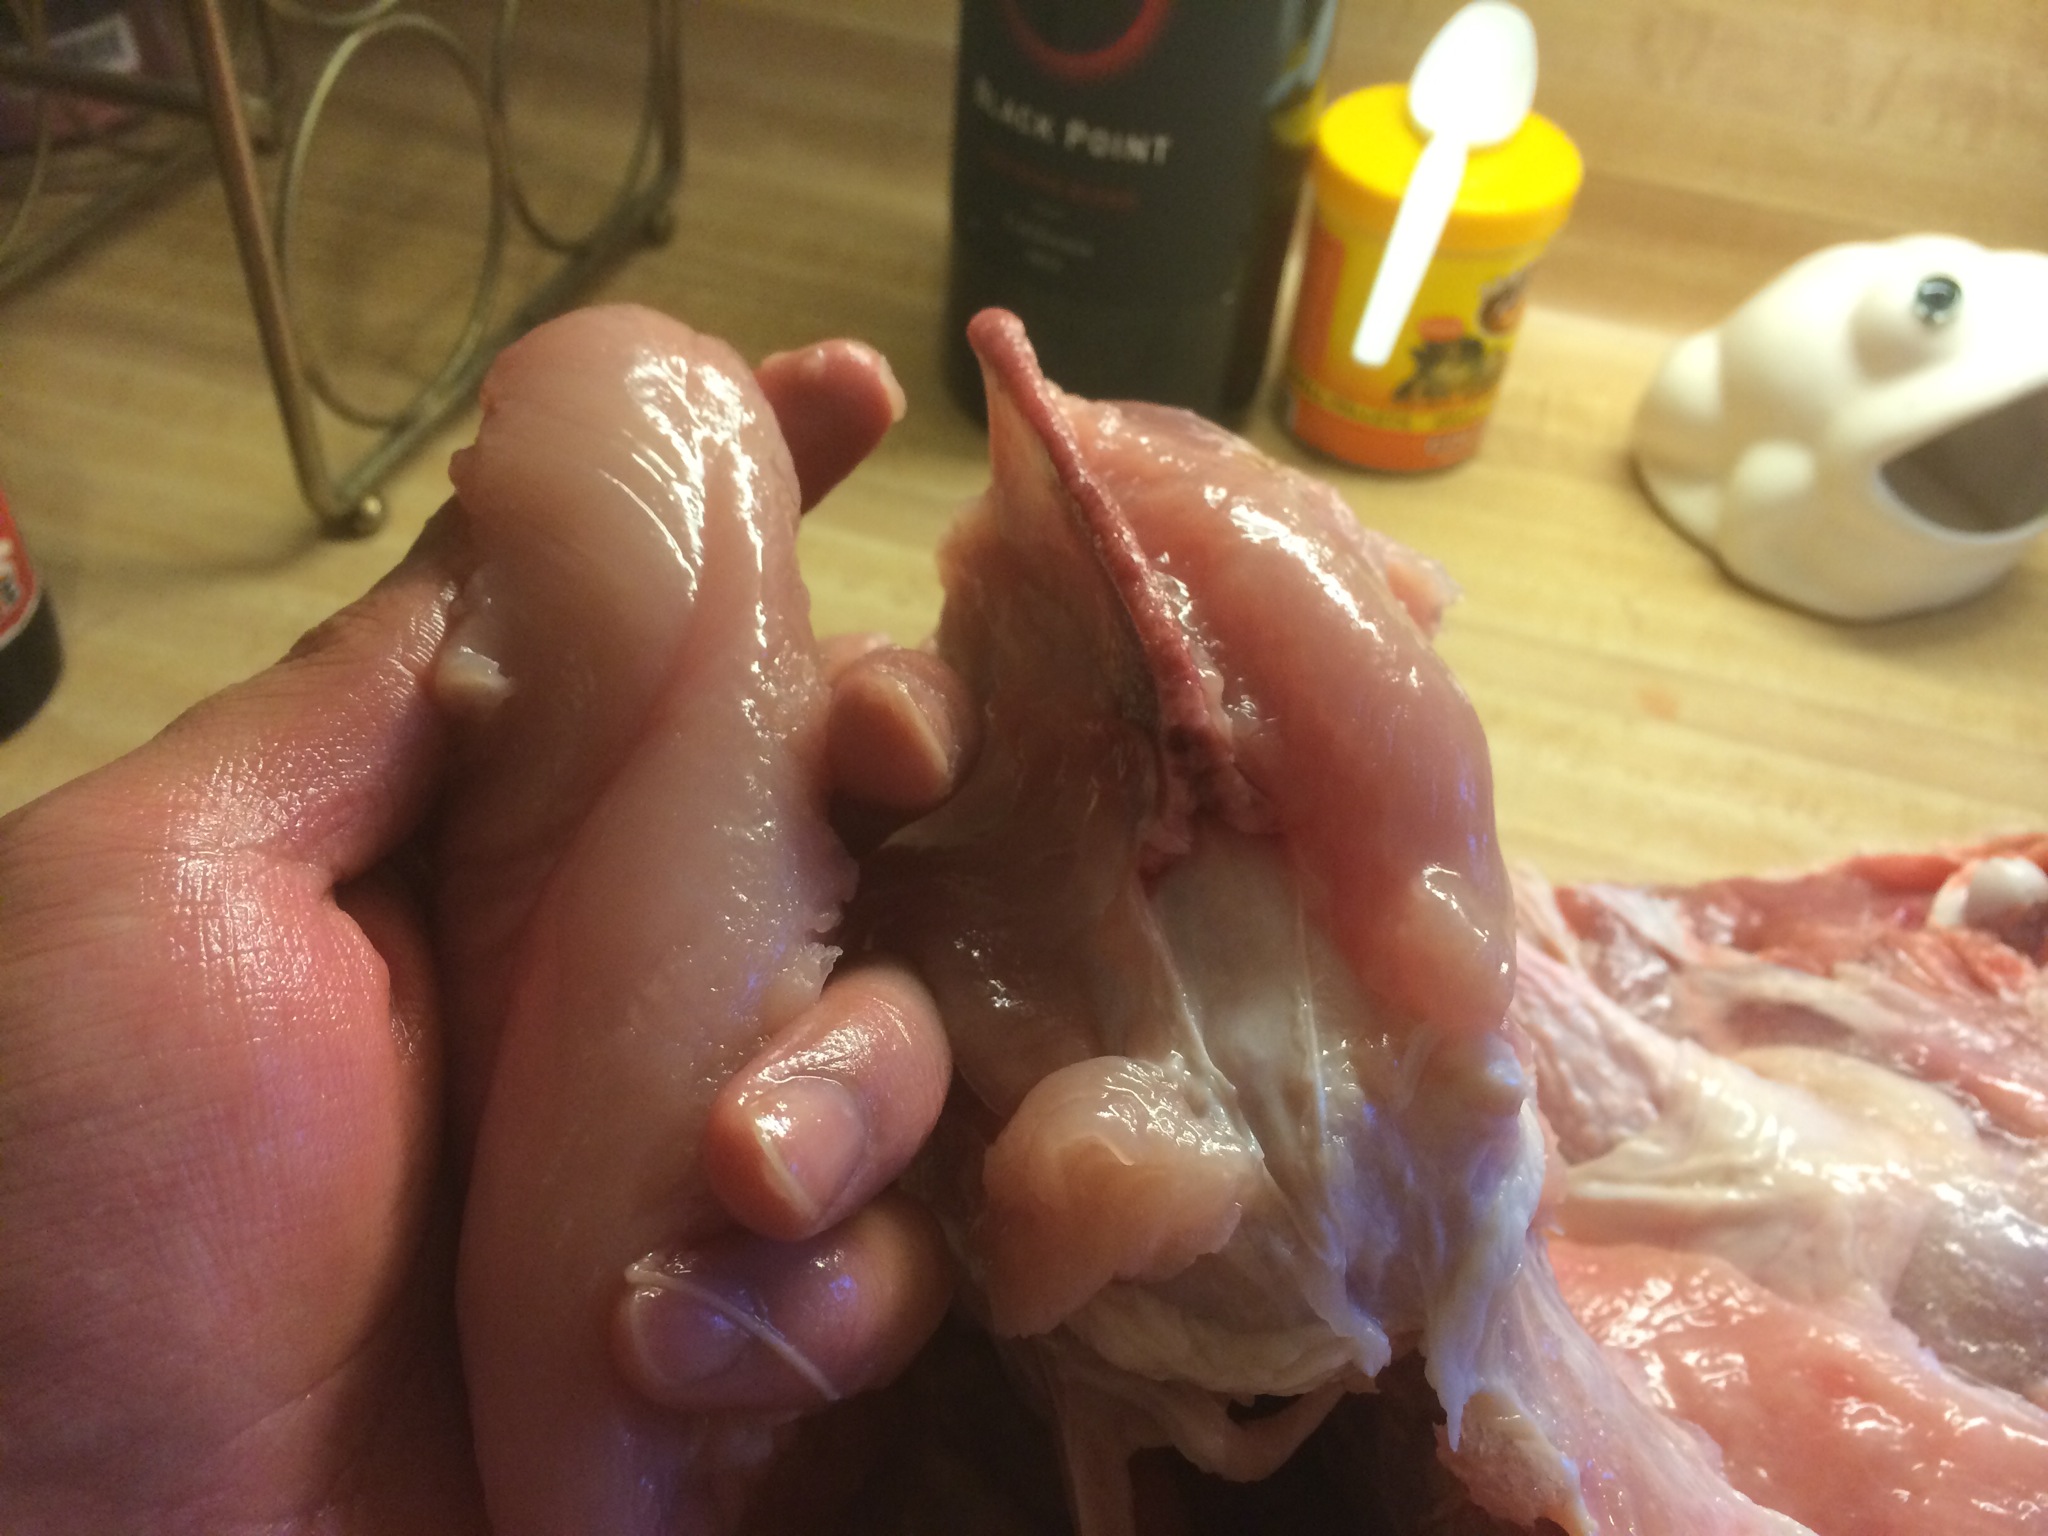
Back to the turkey, I removed the tenderloins from the breast. In this photo I’ve removed the tenderloin on the left with my fingers.
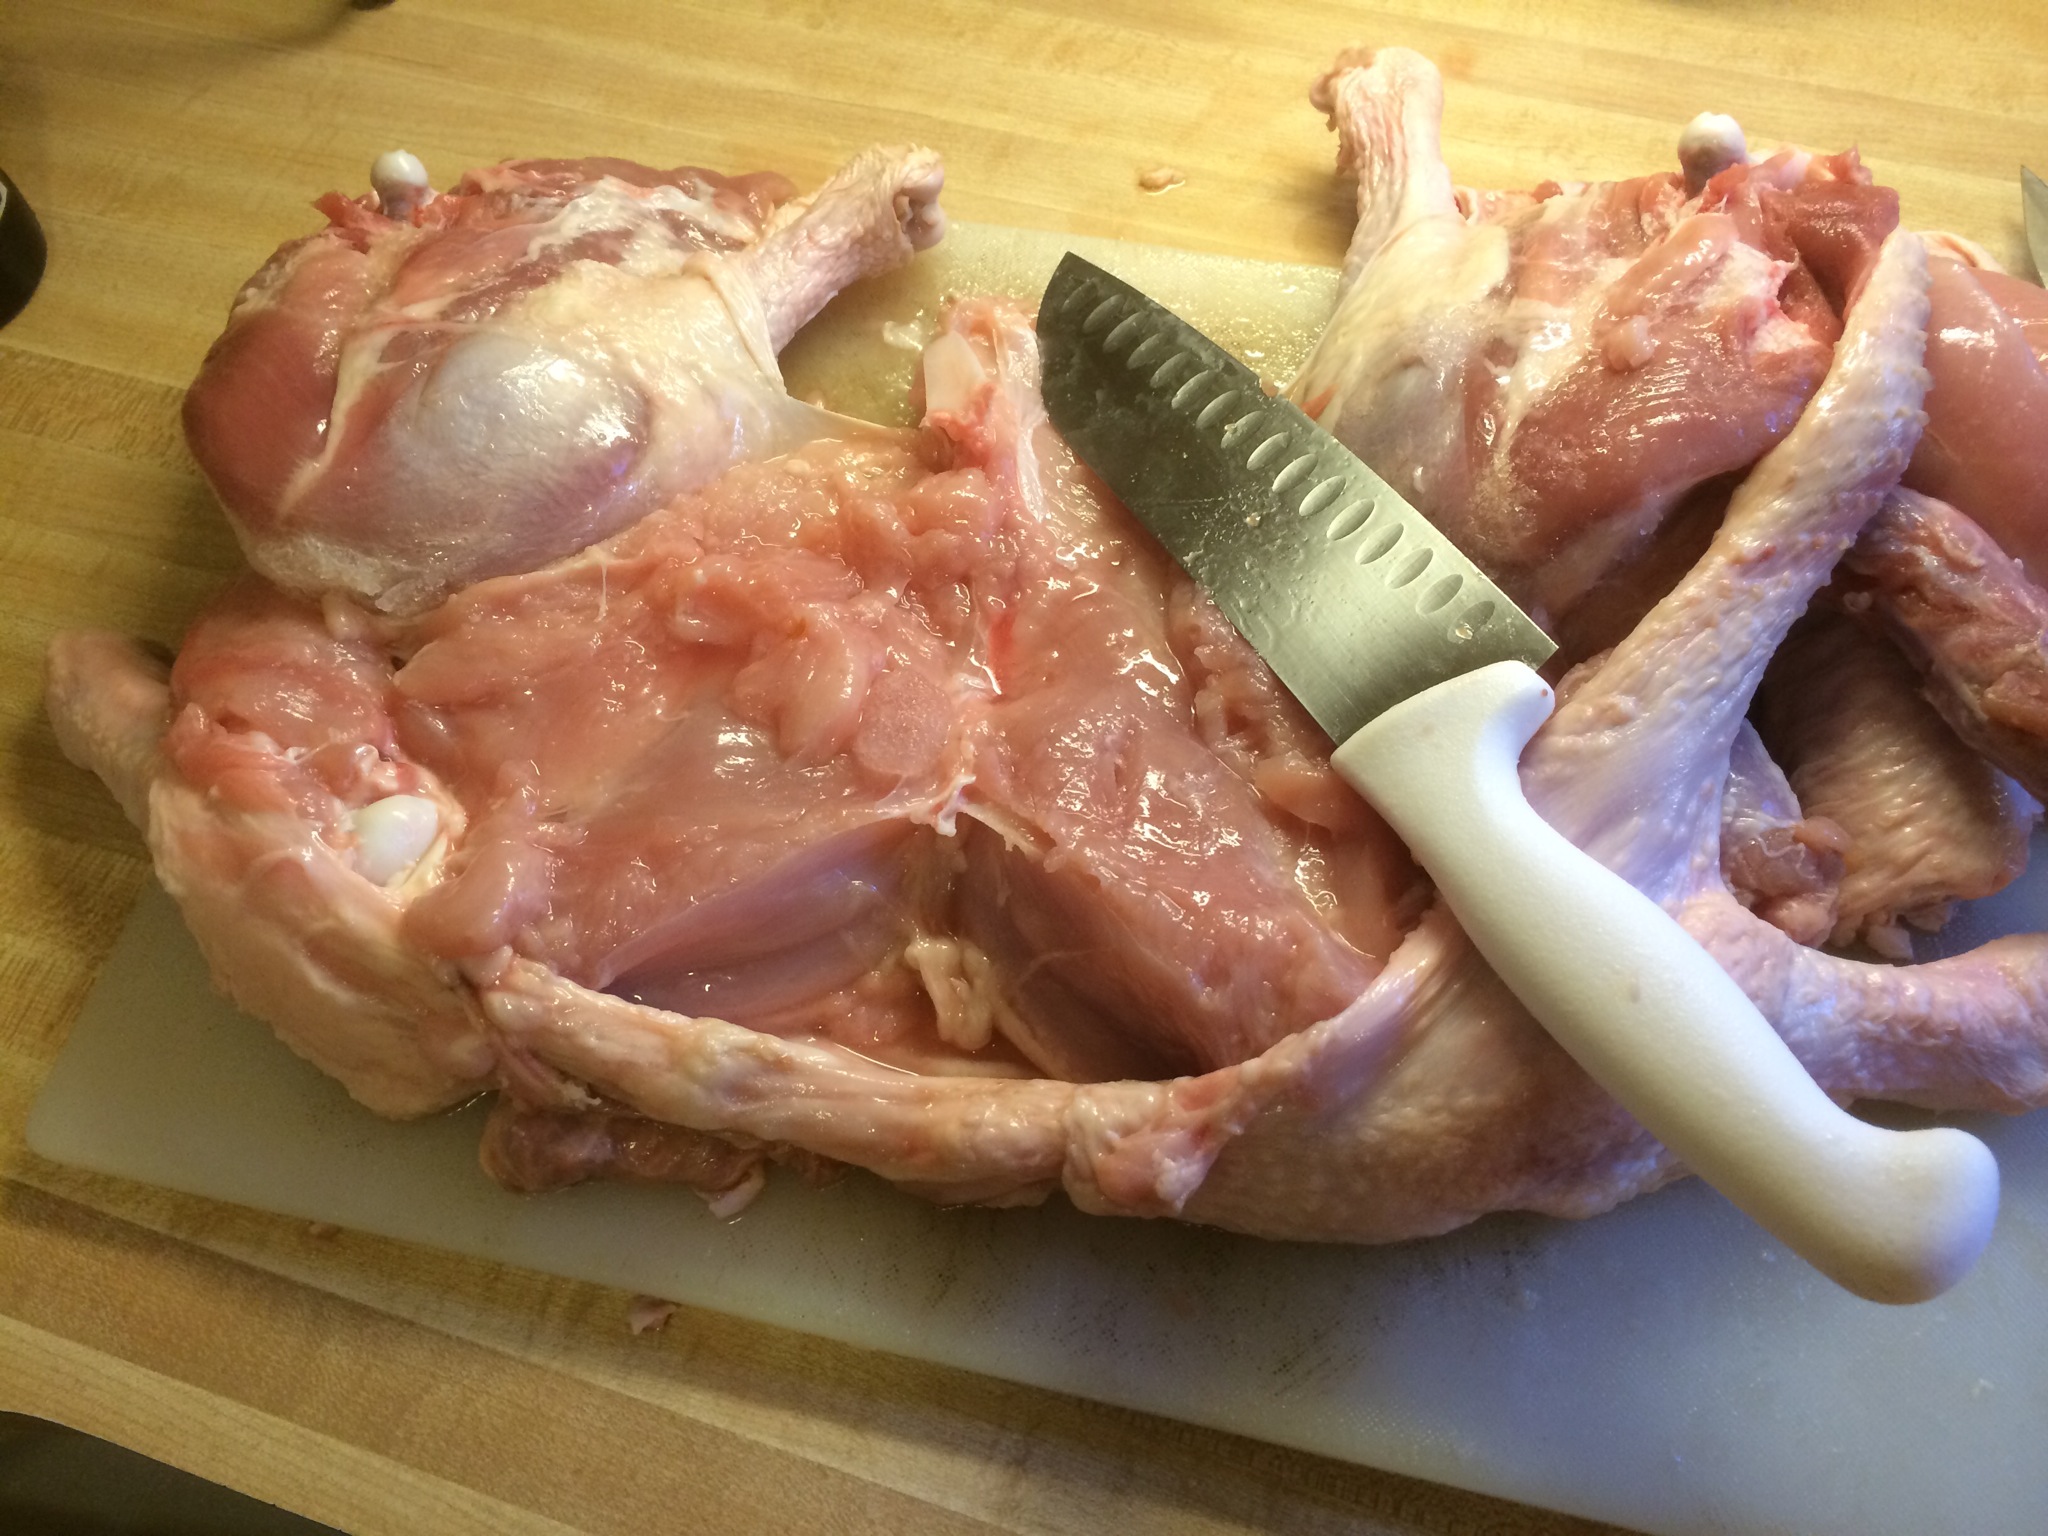
And here’s the (almost) deboned turkey. There’s still the last piece of wing and the leg bones which were also removed.
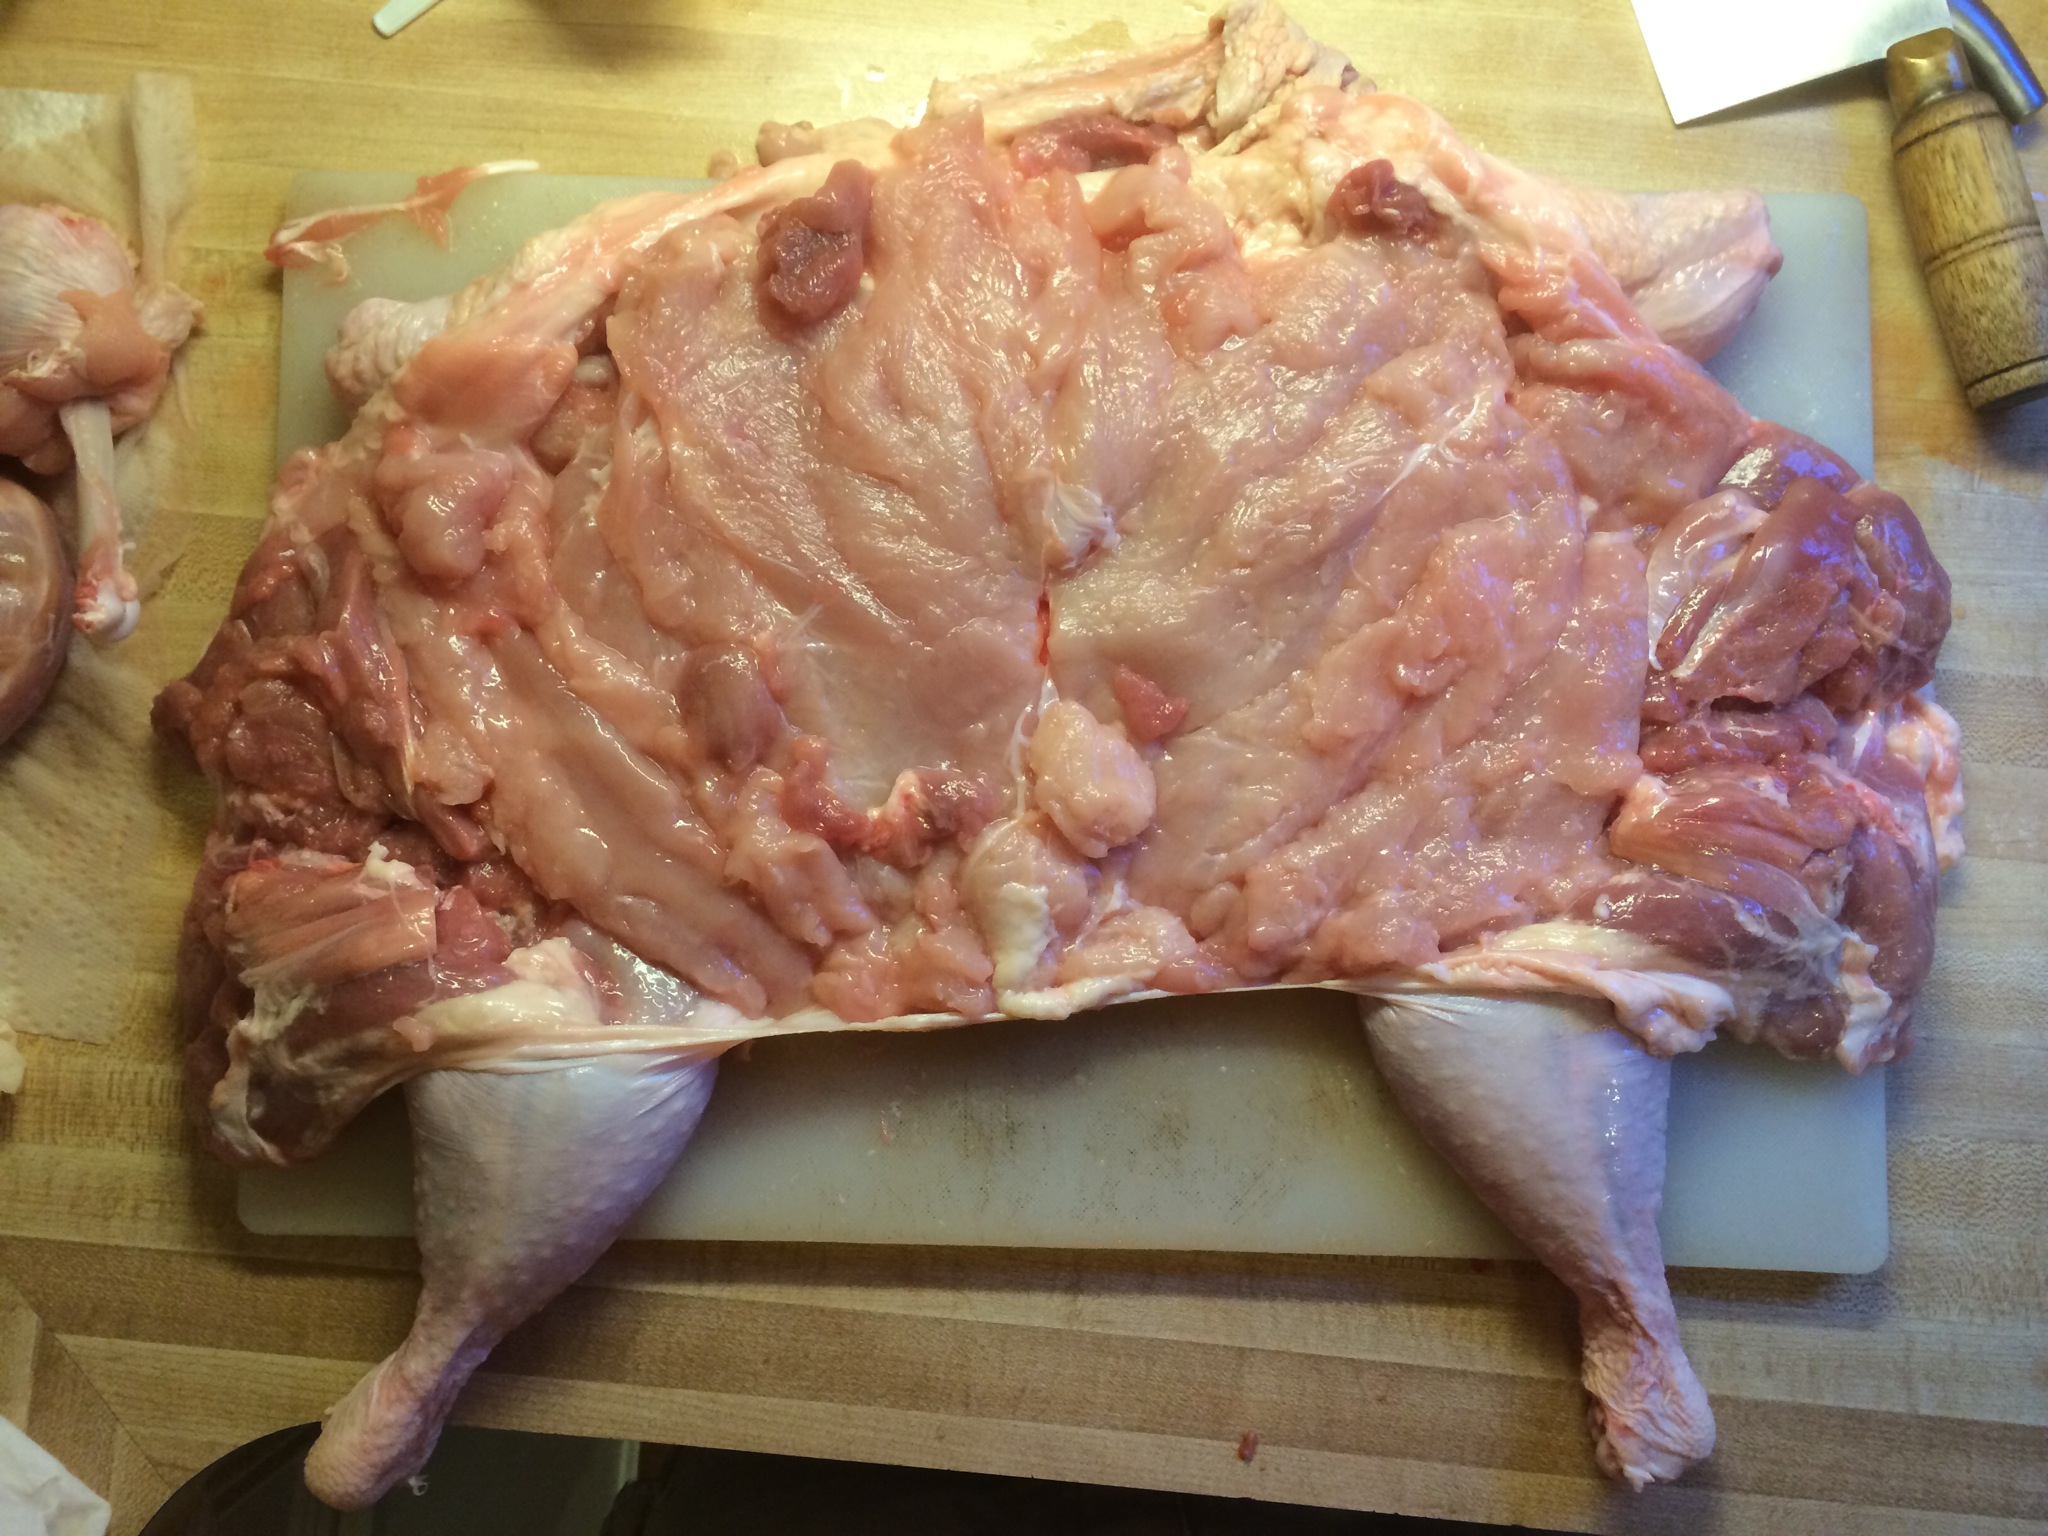
After I removed the leg/wing bones, I butterflied the thicker parts of the breast to even the meat out, and then I placed the tenderloins in the gap between the breasts and the legs. This creates a nice even surface (which makes for even cooking).
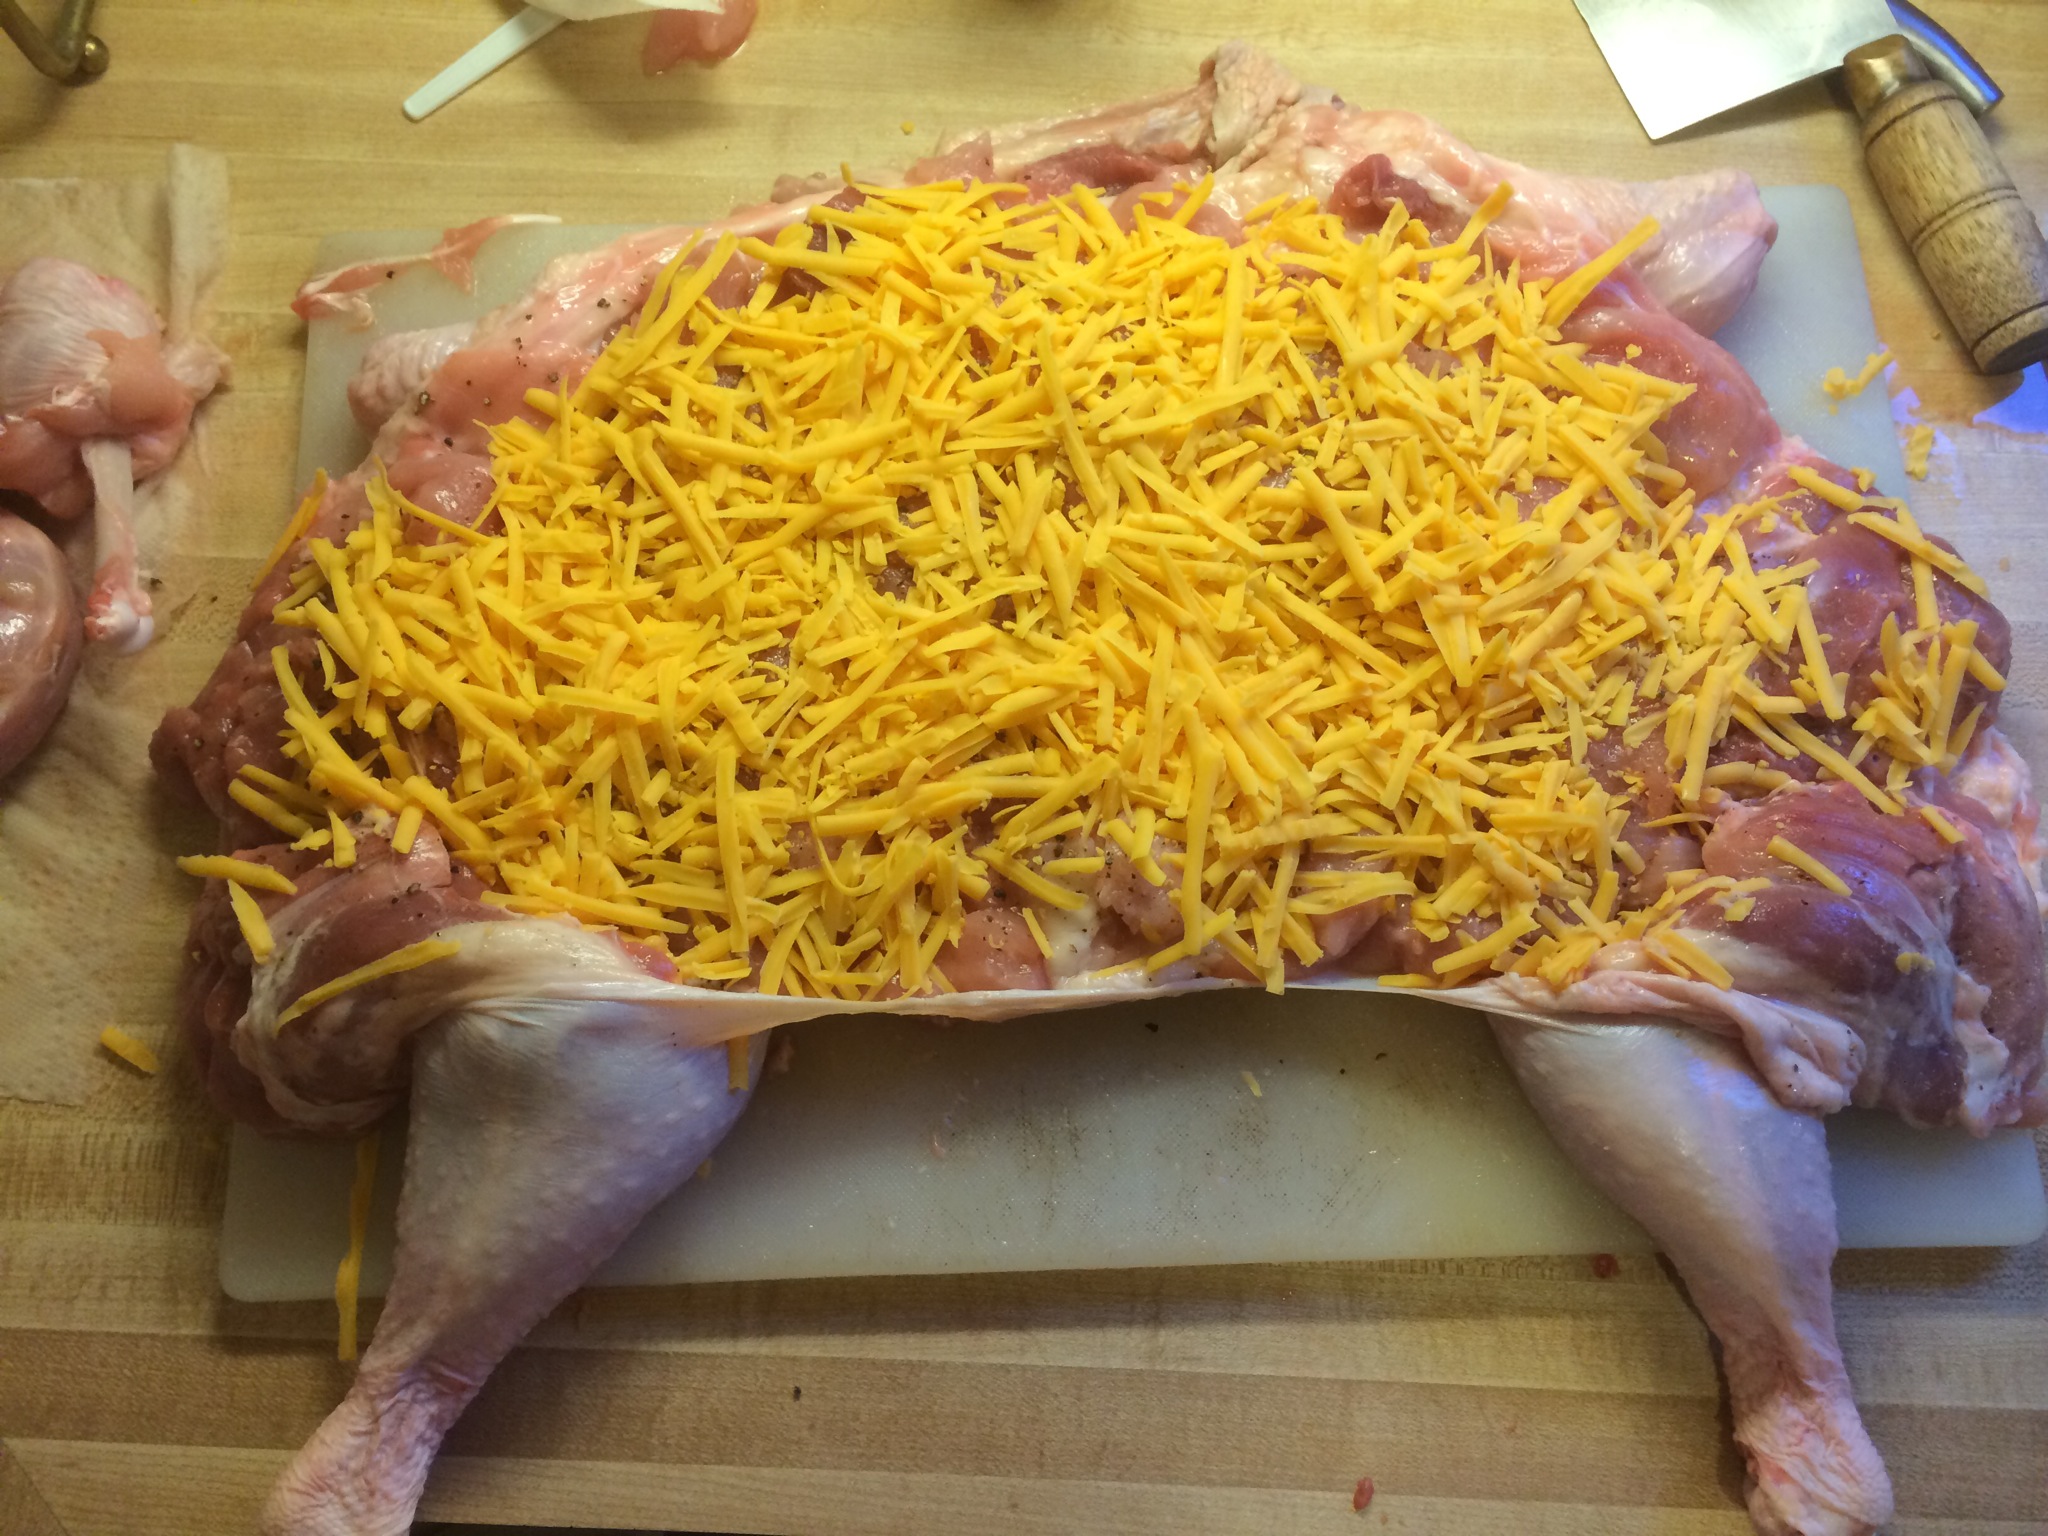
Cheddar cheese was a must in this ballotine.
Along with a stuffing of carrots, onions, bread, egg, and peppers!
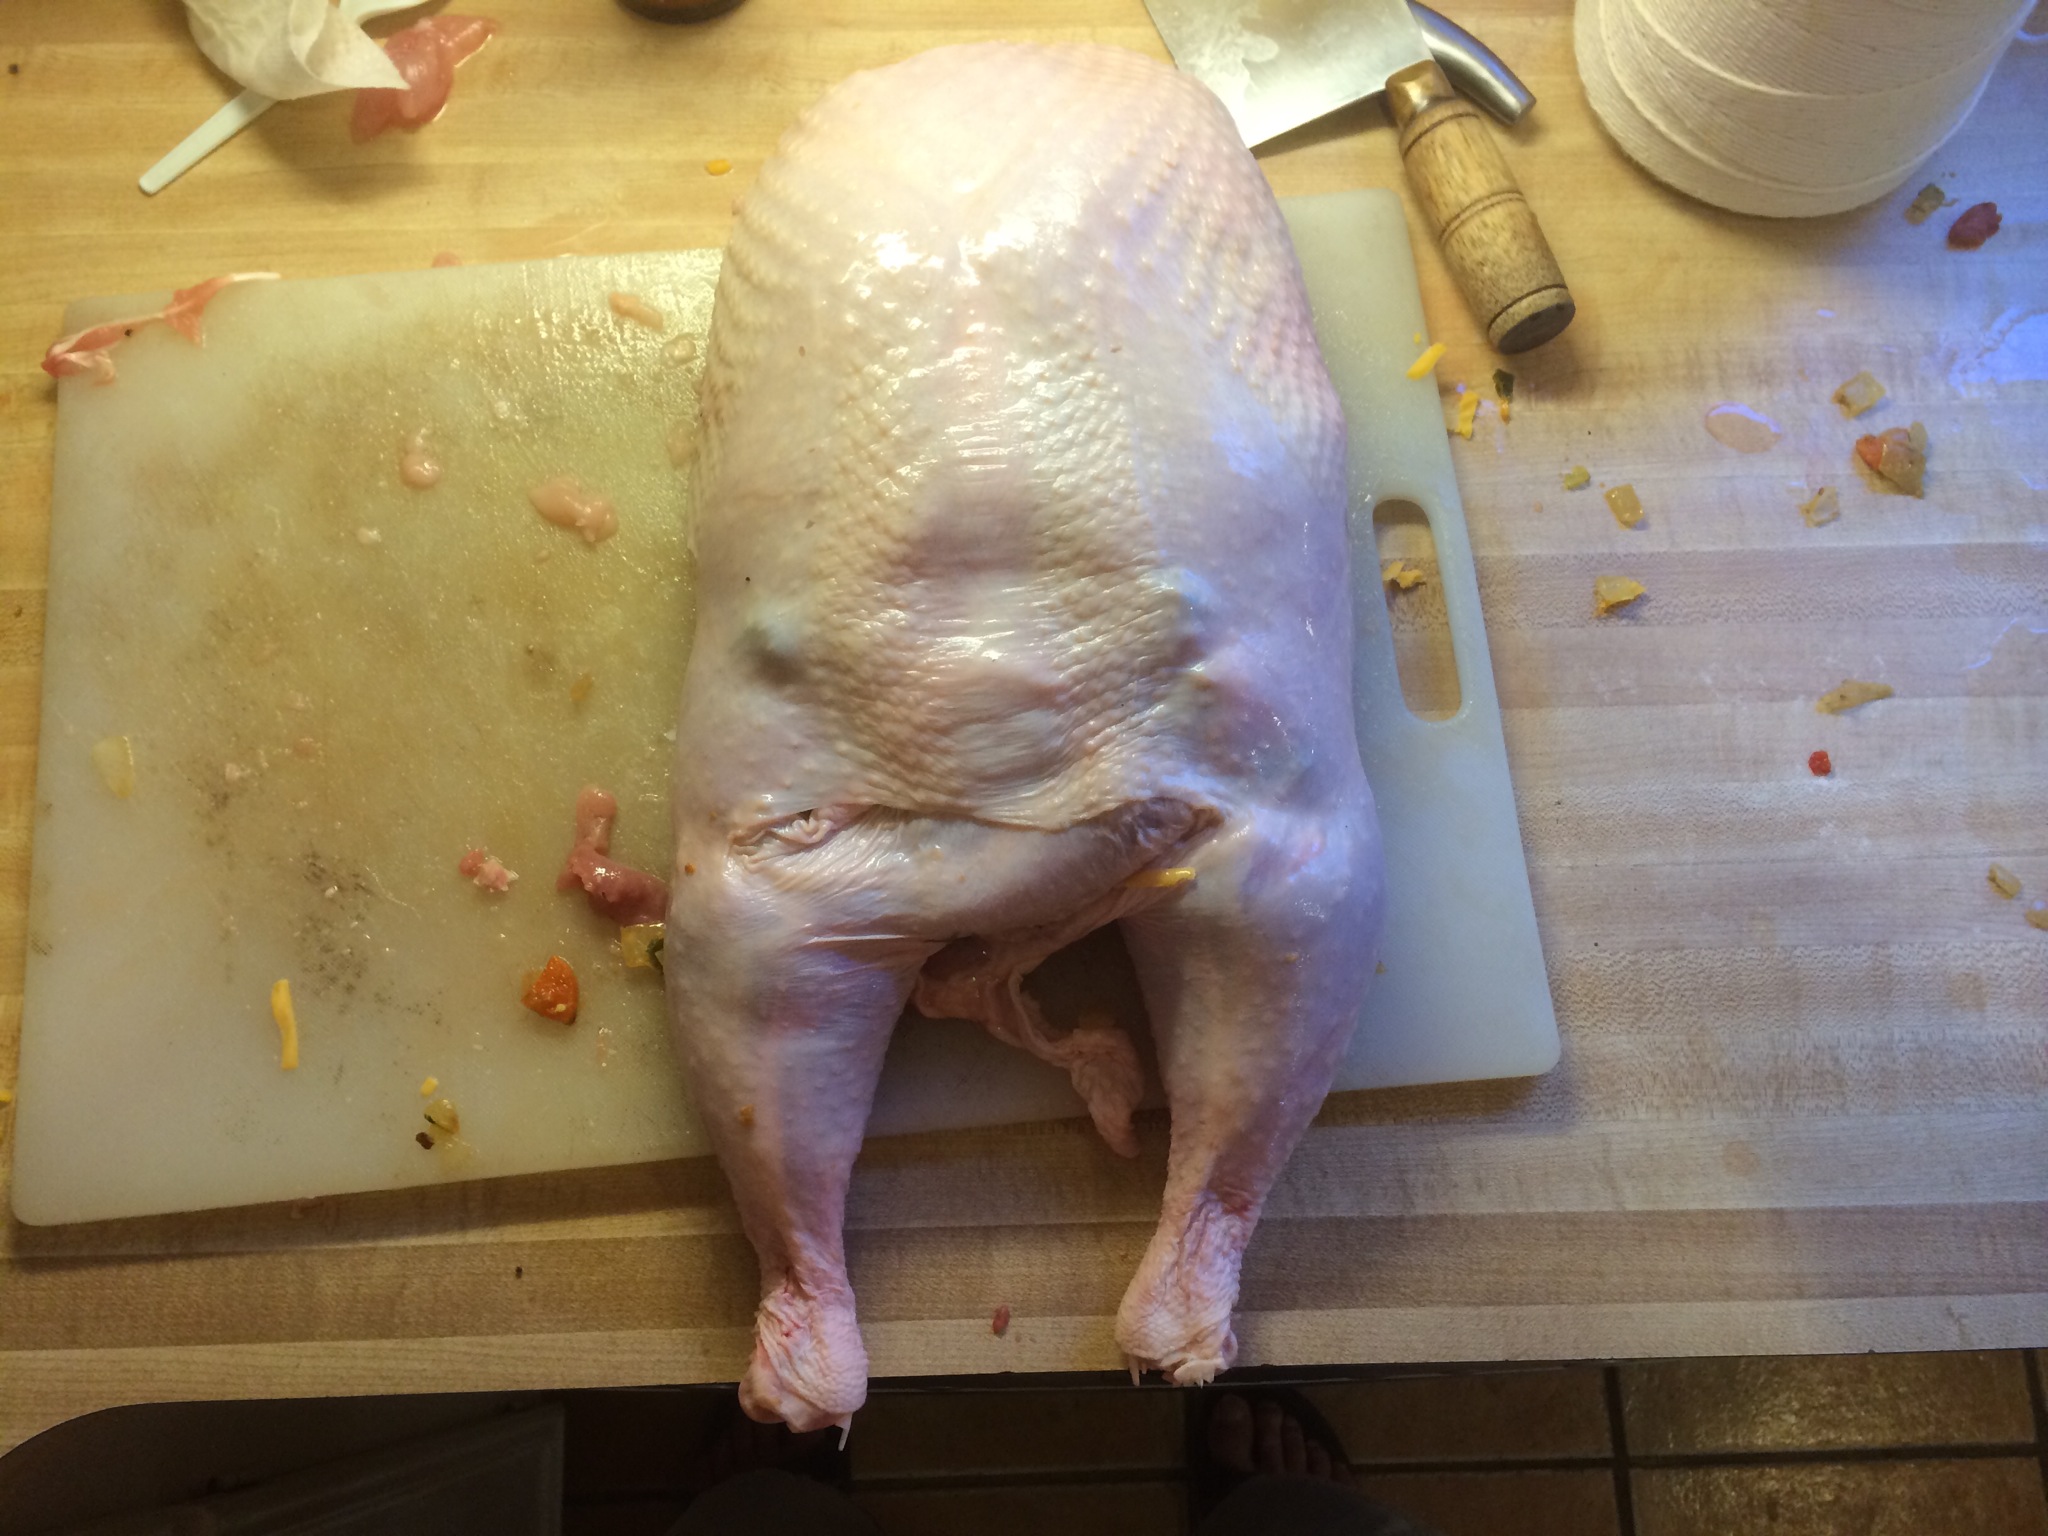
Then I rolled it up and flipped it over.
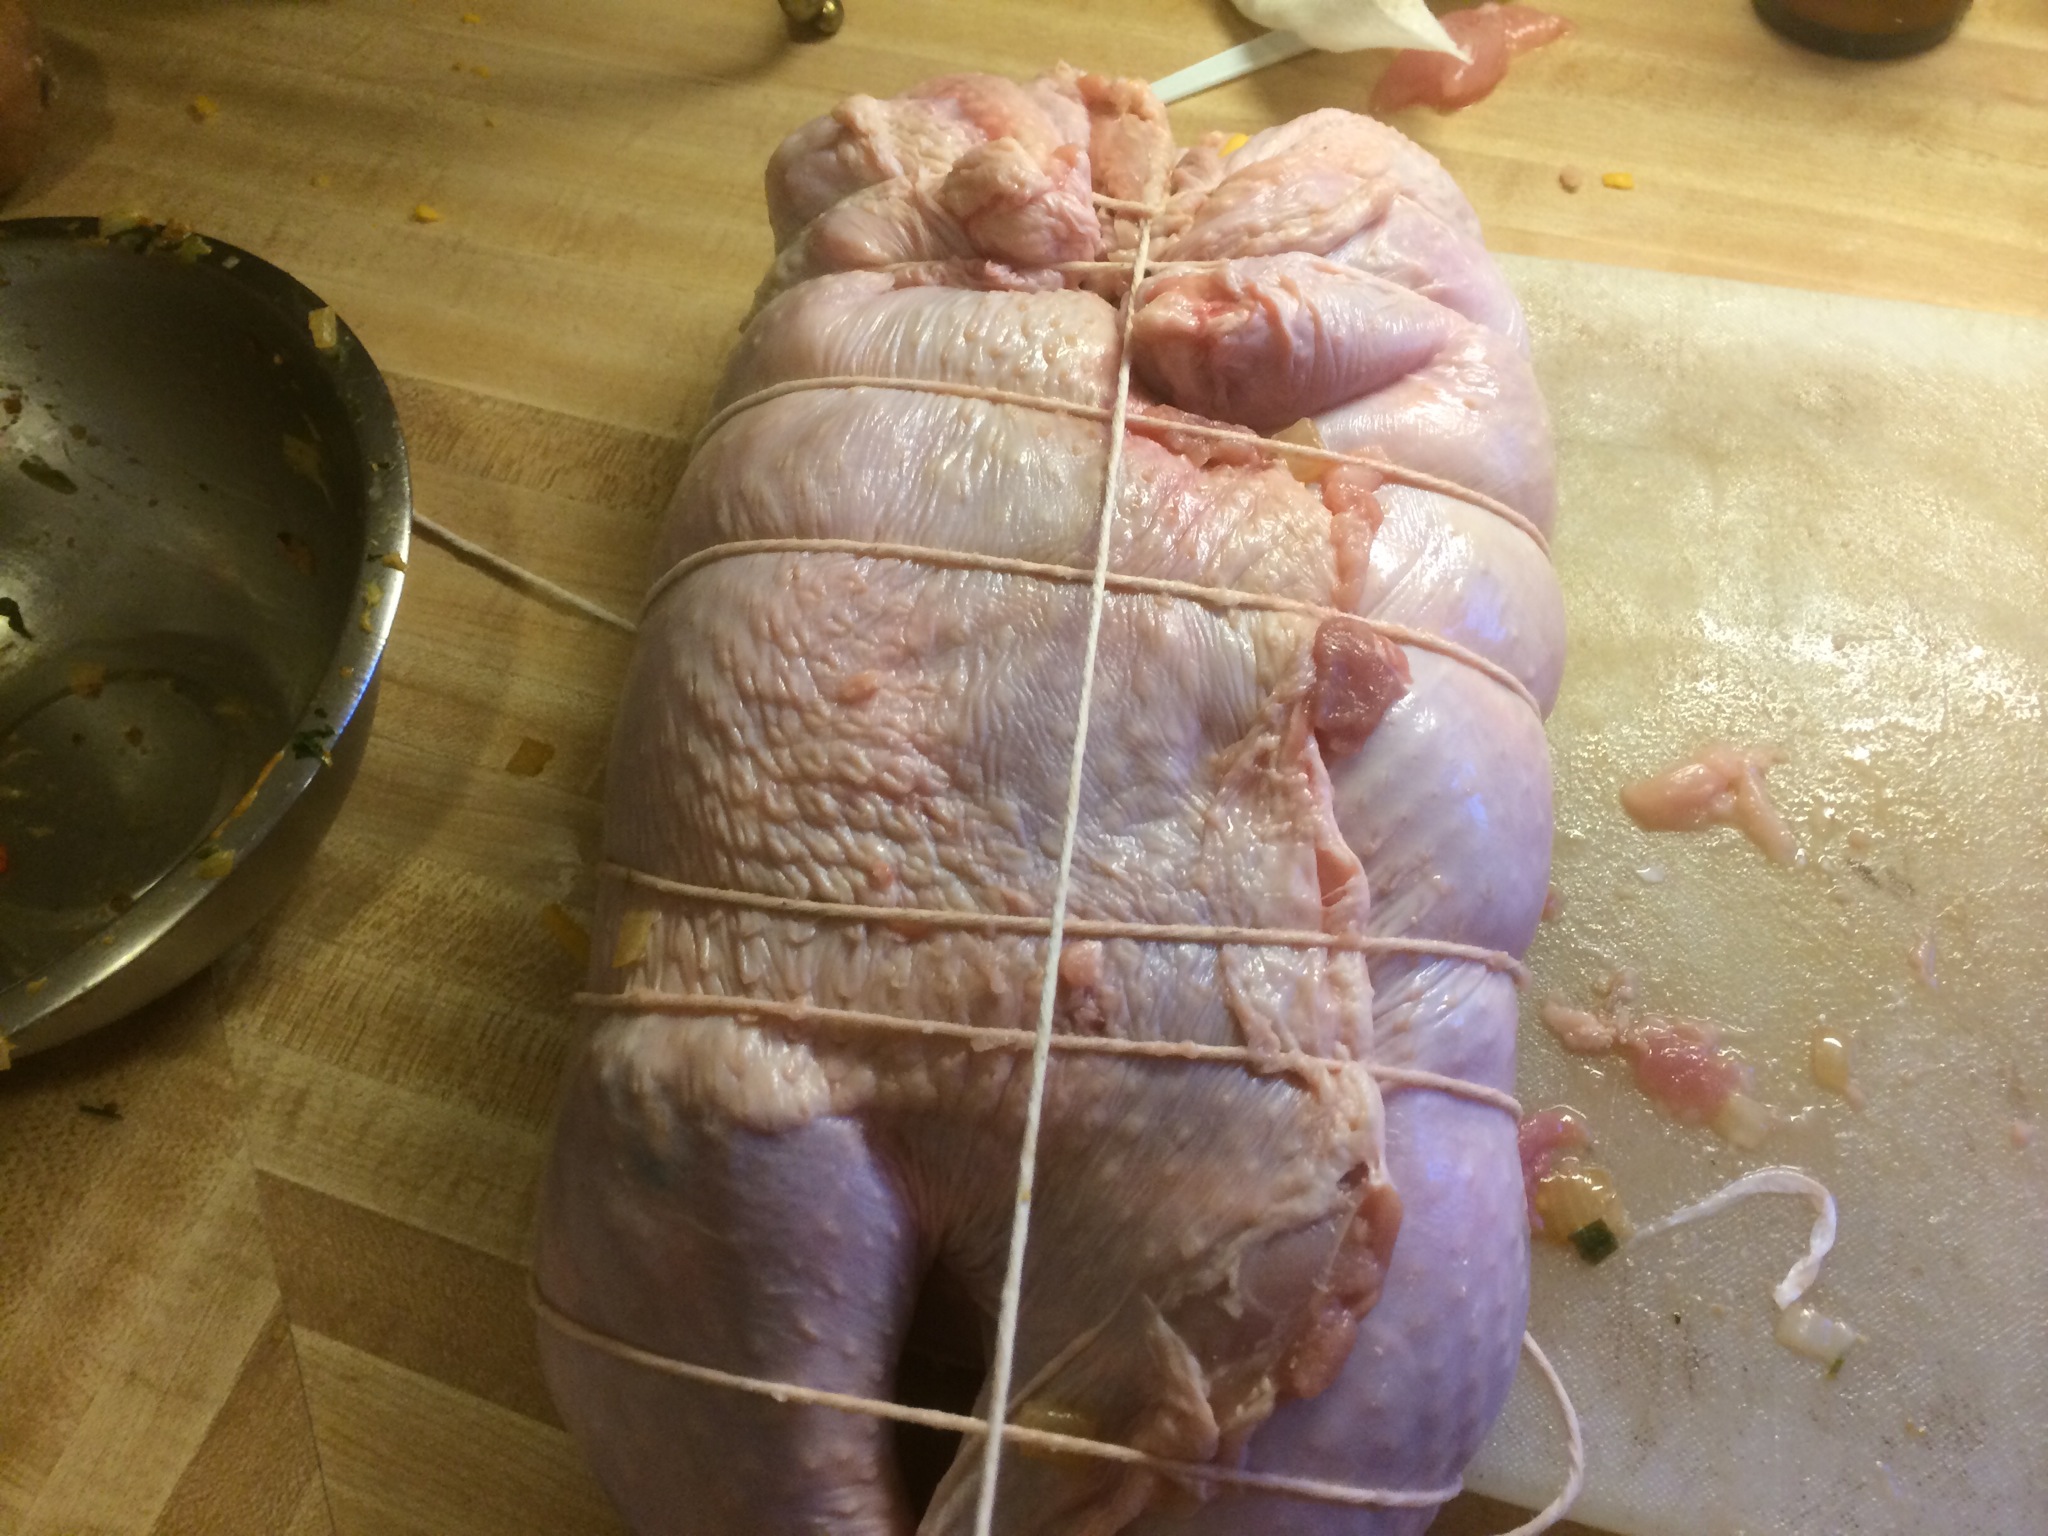
Here’s a shot of me tying off the backside of the turkey with butcher’s string.
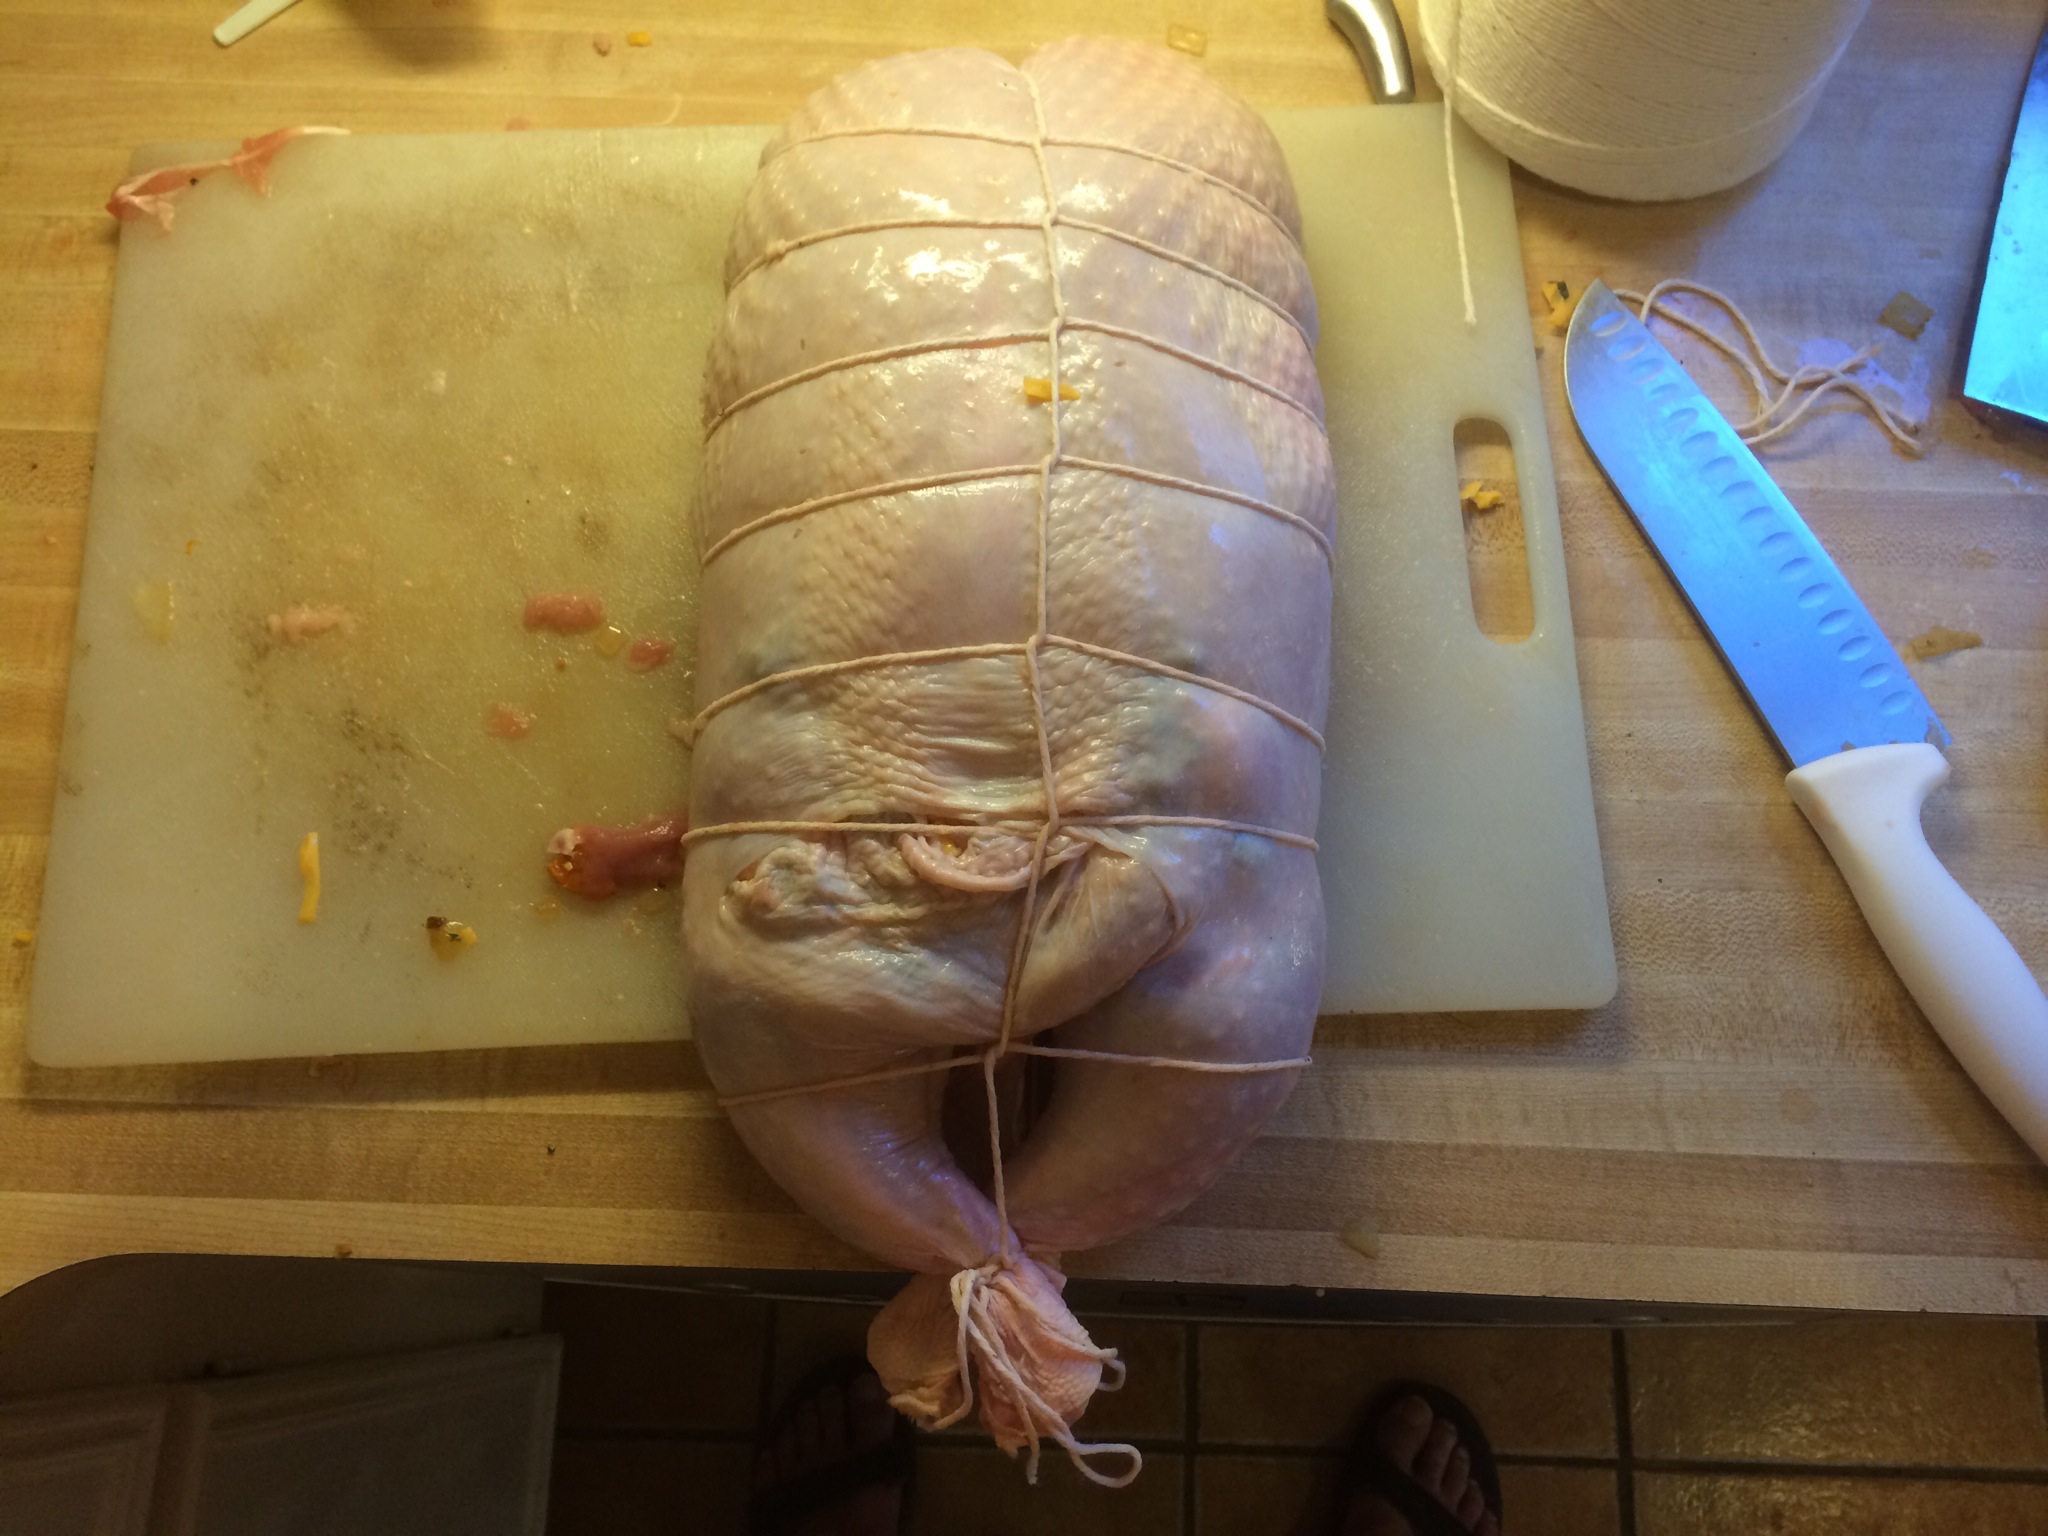
And then I tied the backside string to the legs.
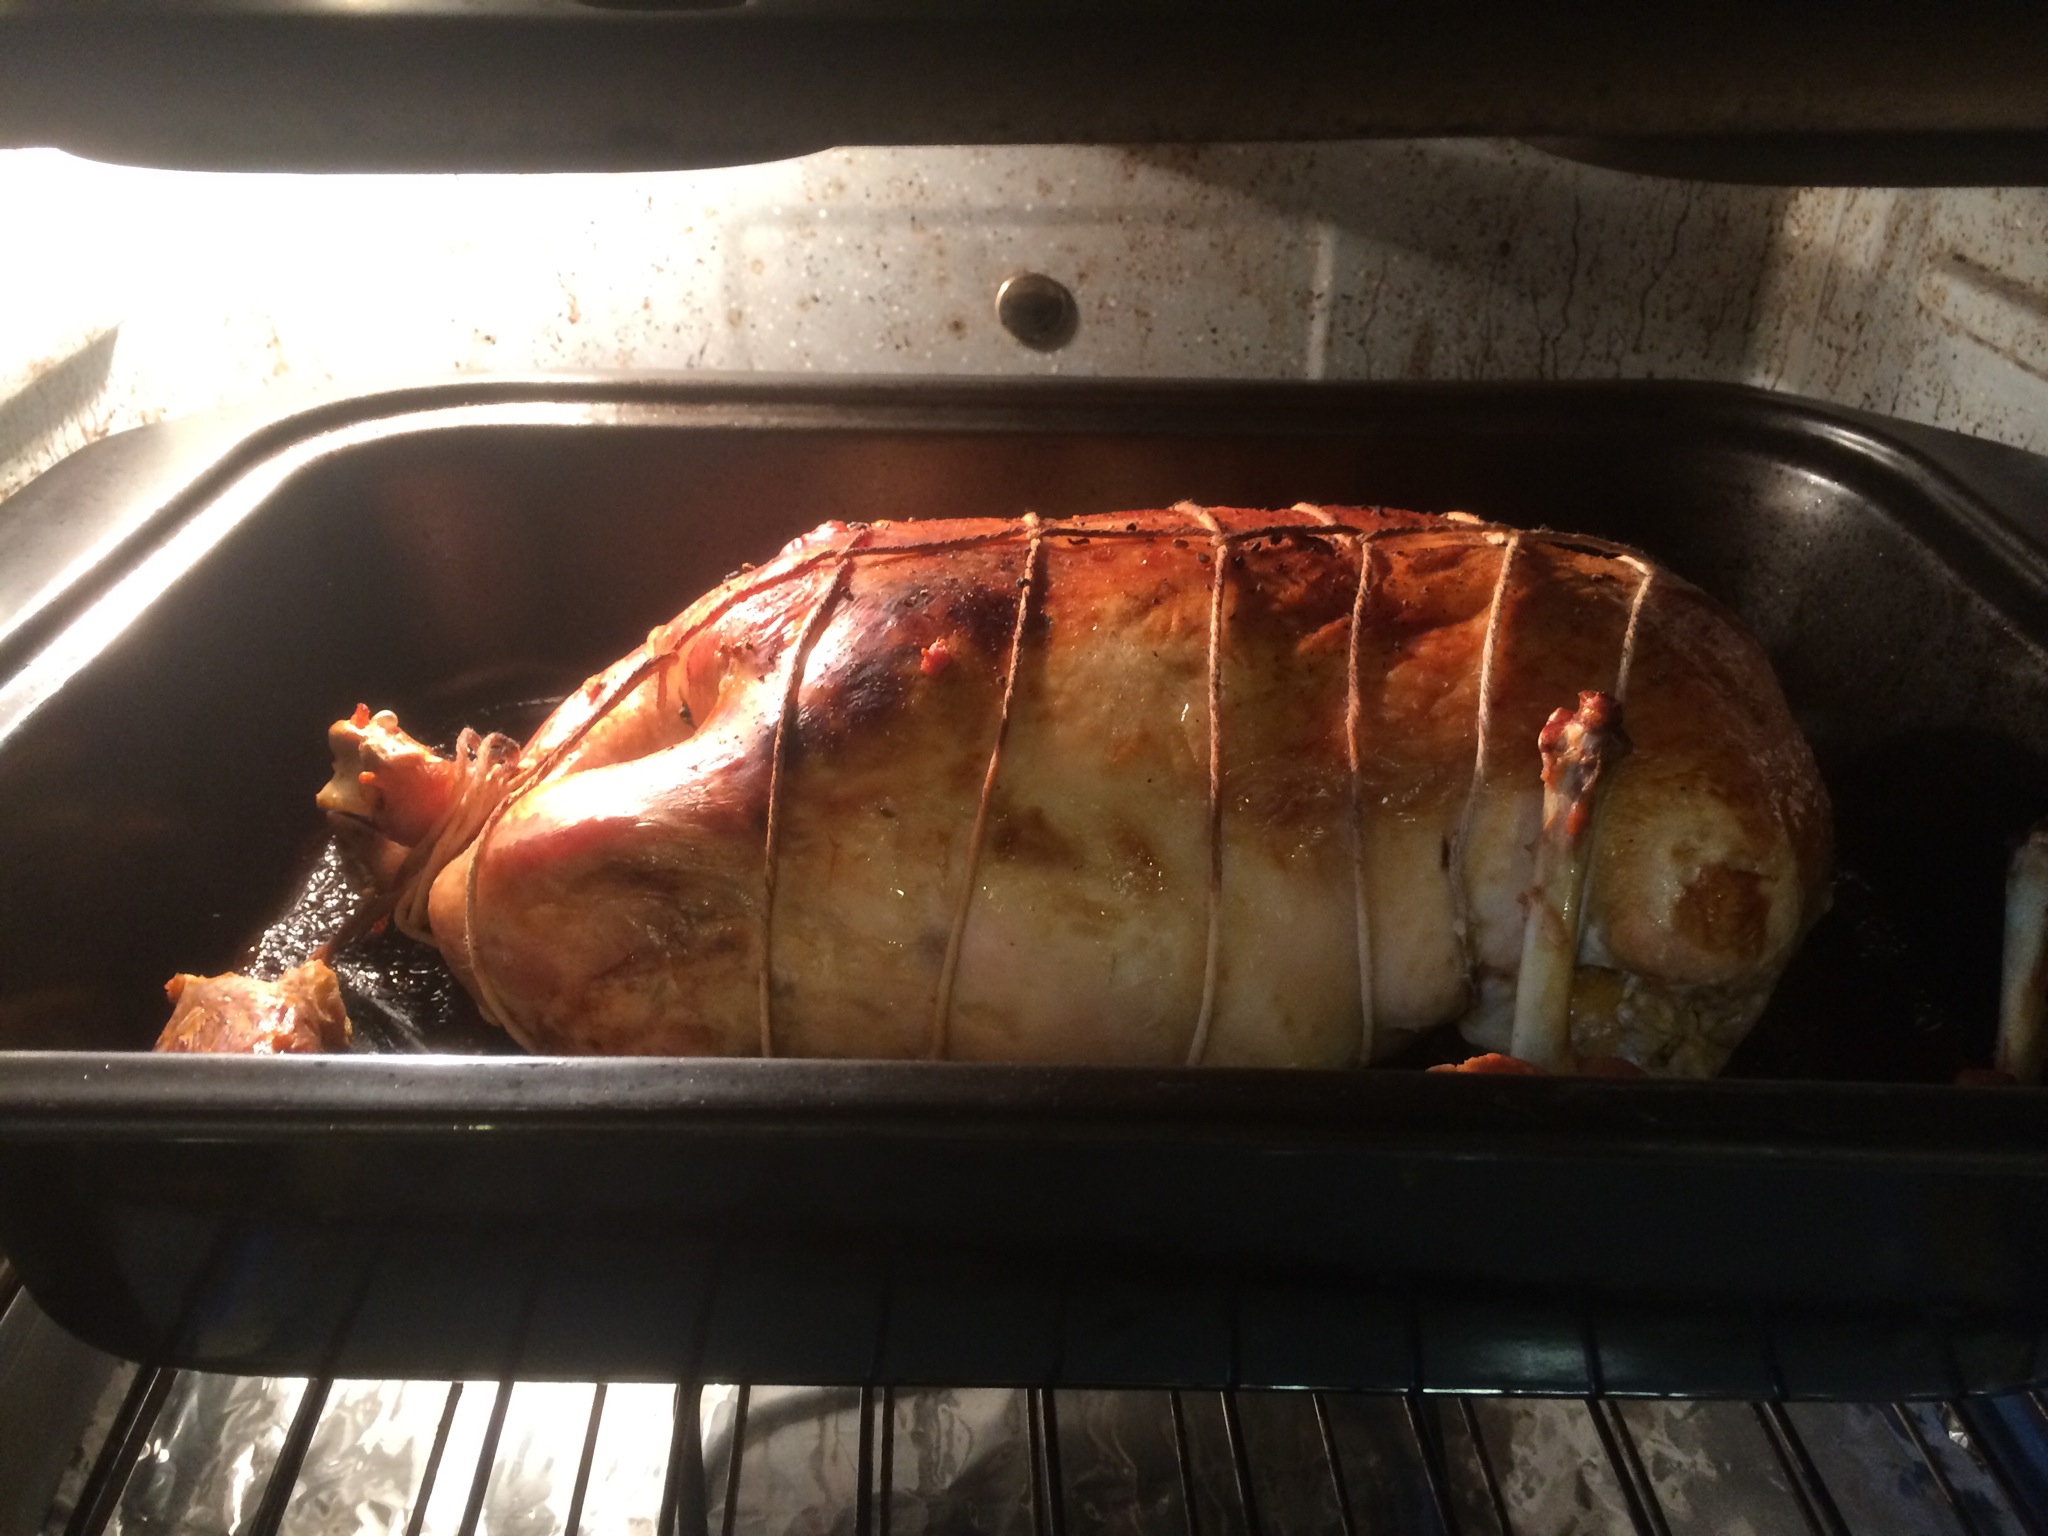
Here it went into a very hot oven for some time. I kind of winged it on the time, which is why the meat could have been a little more tender. I wouldn’t really call it dry, however the gravy was a welcome addition.
This is my finished plate with one of the “lollipops” and gravy to finish.
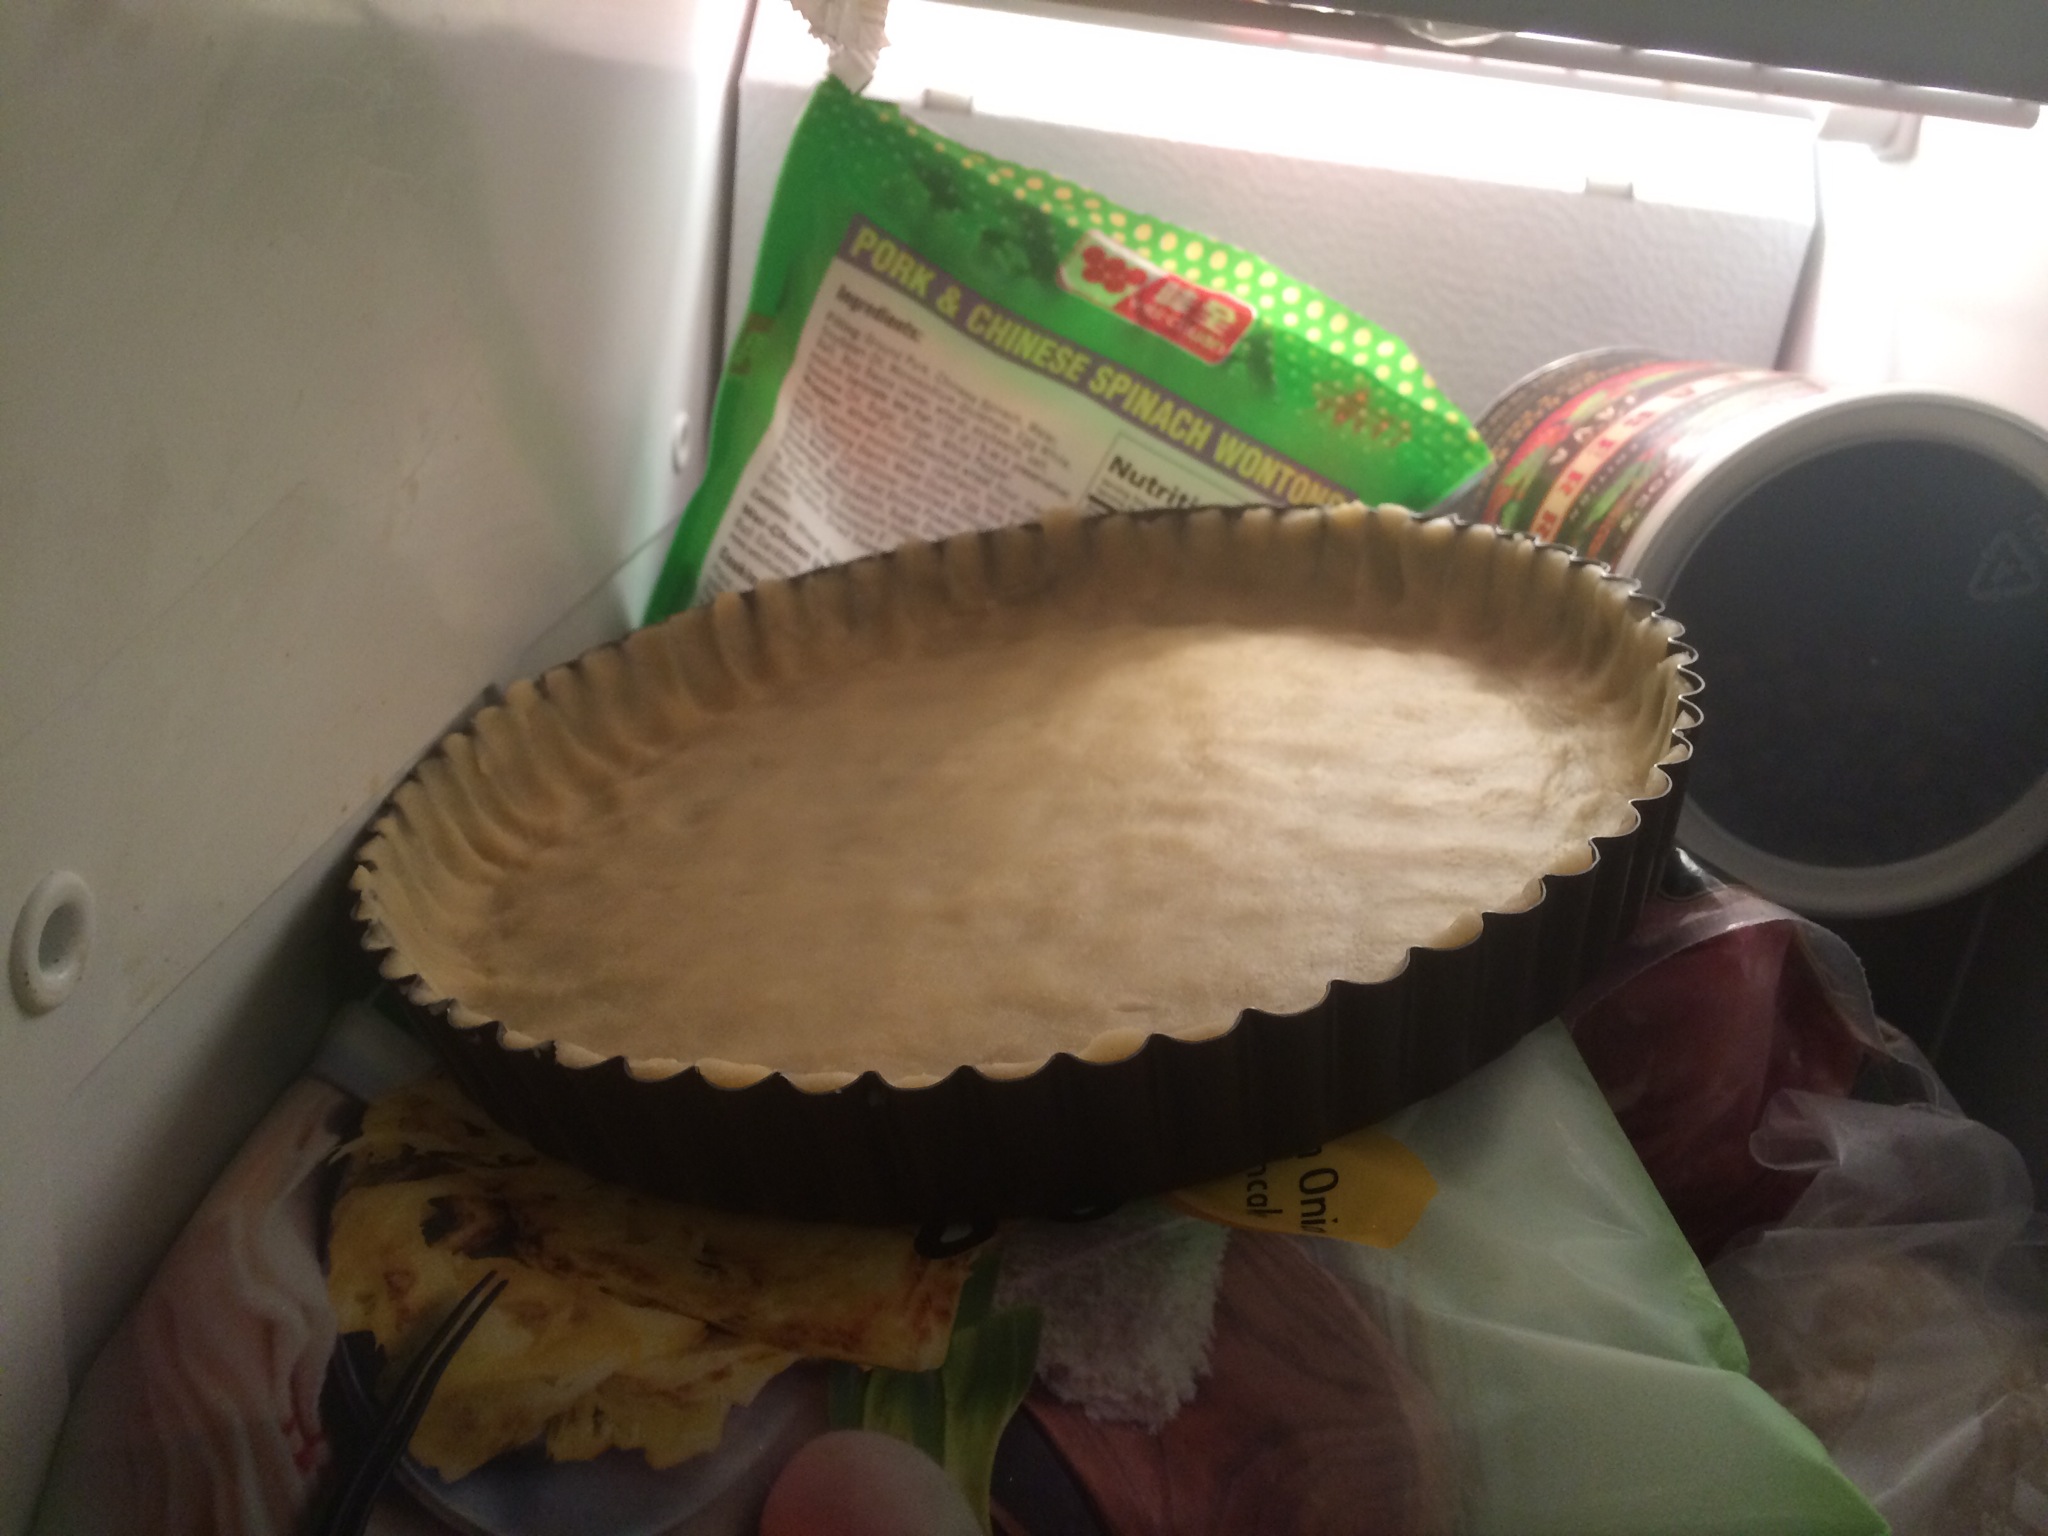
Here’s the fruit tart chilling with its homey, the fruit tart pan, in the freezer.
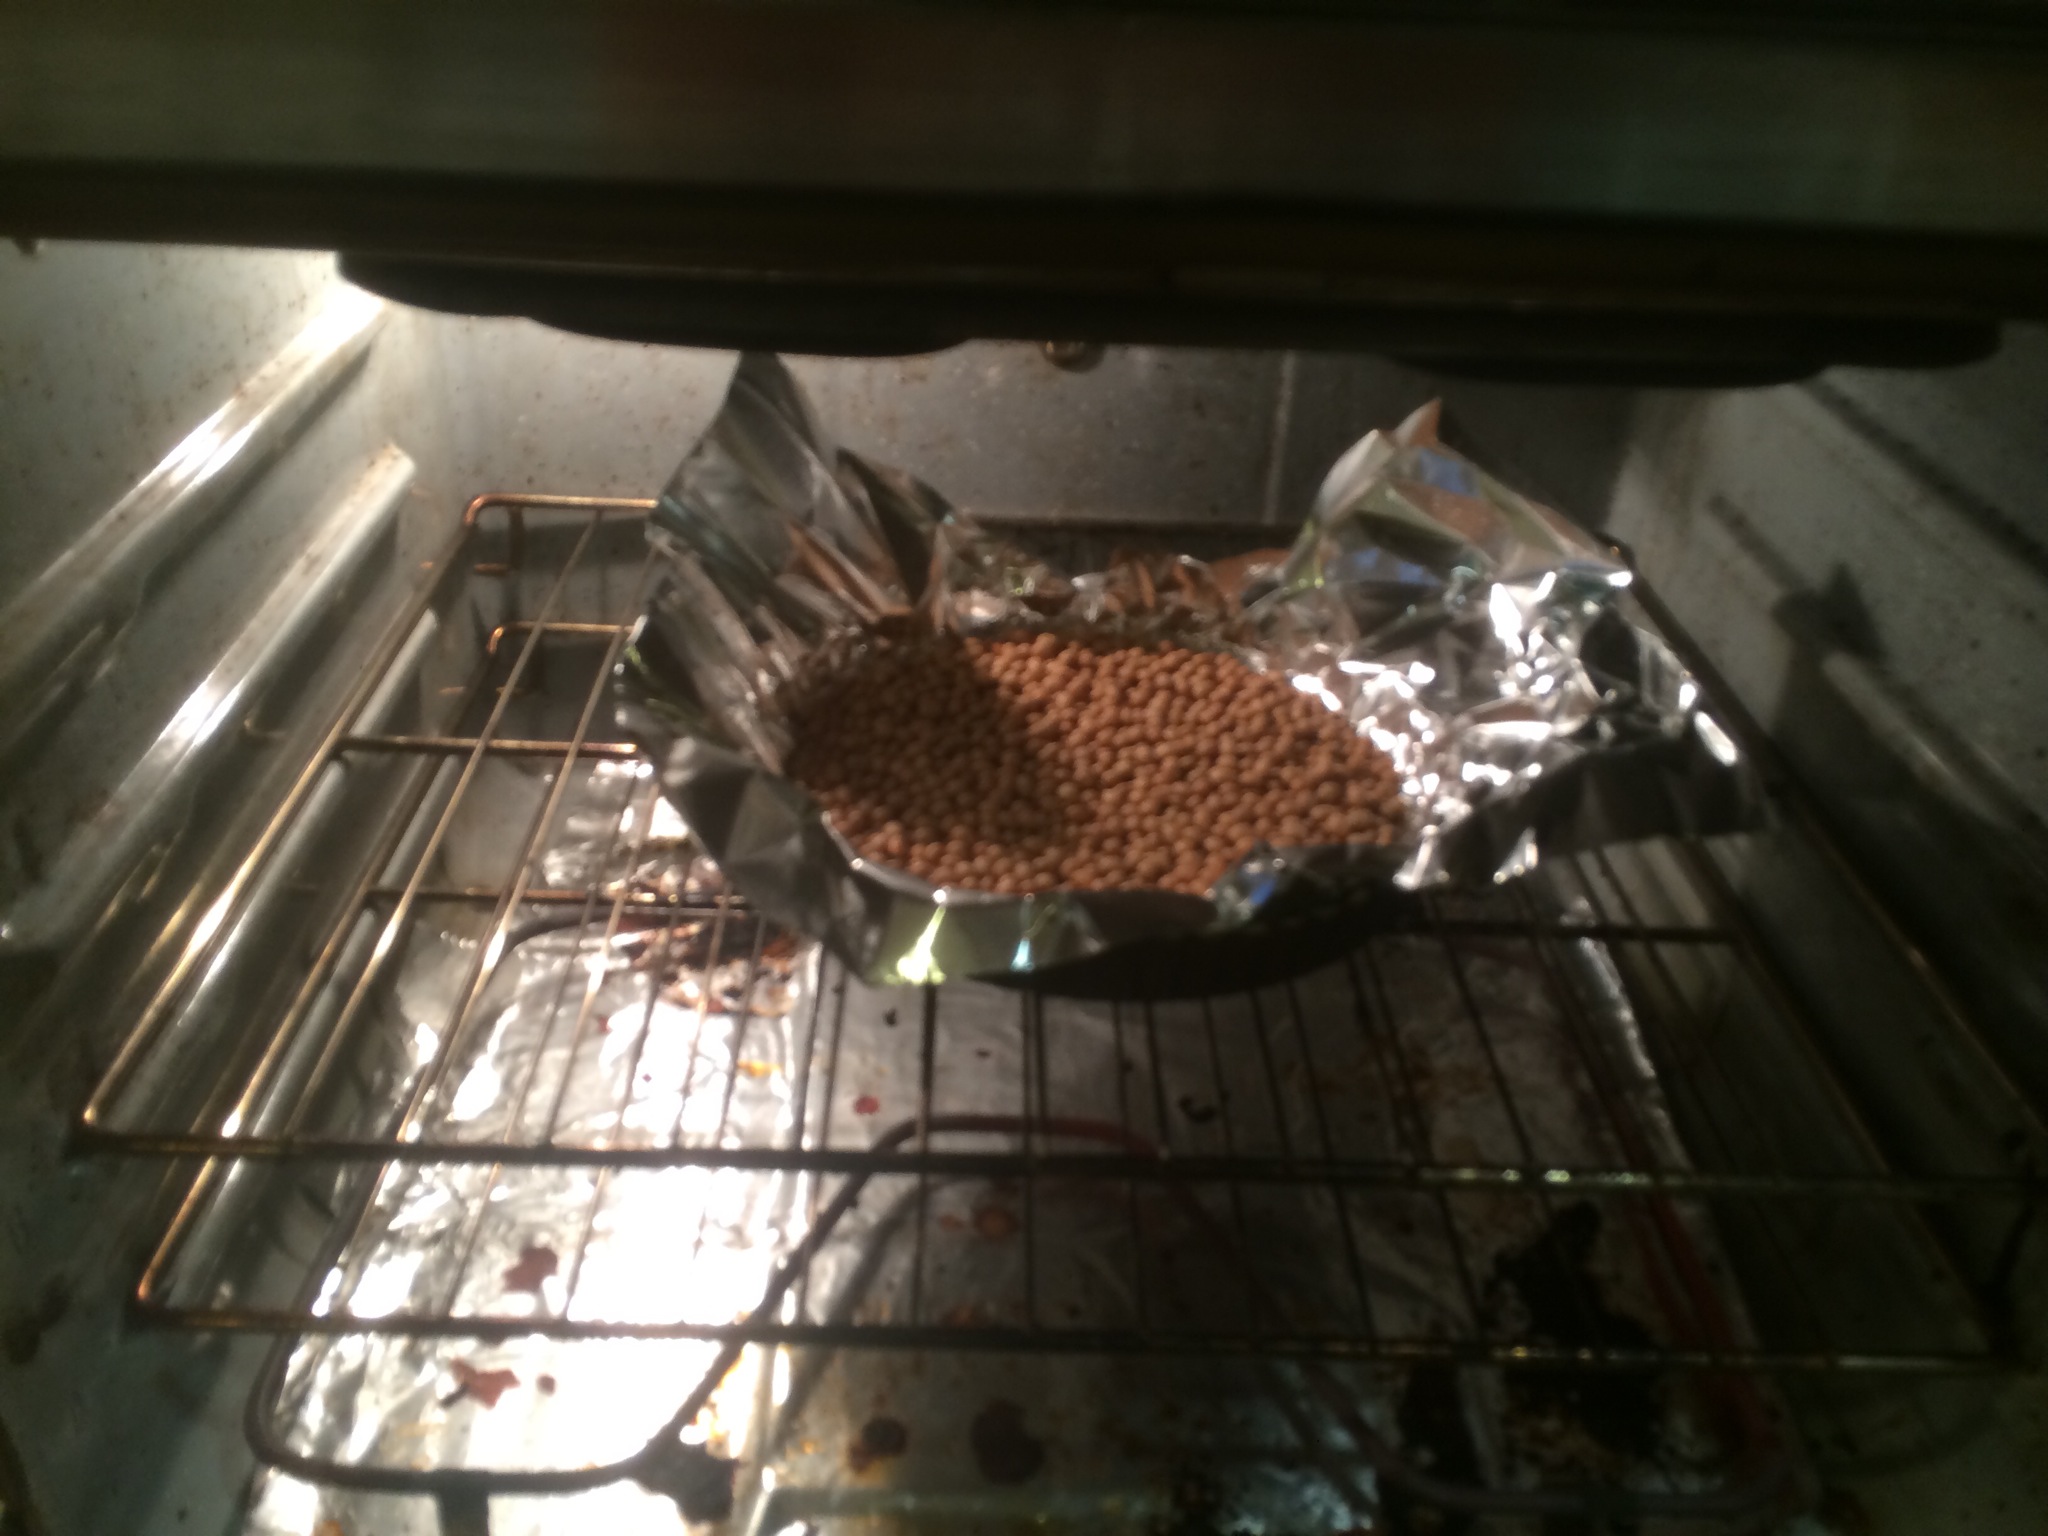
I baked the crust with soybeans as pie weights.
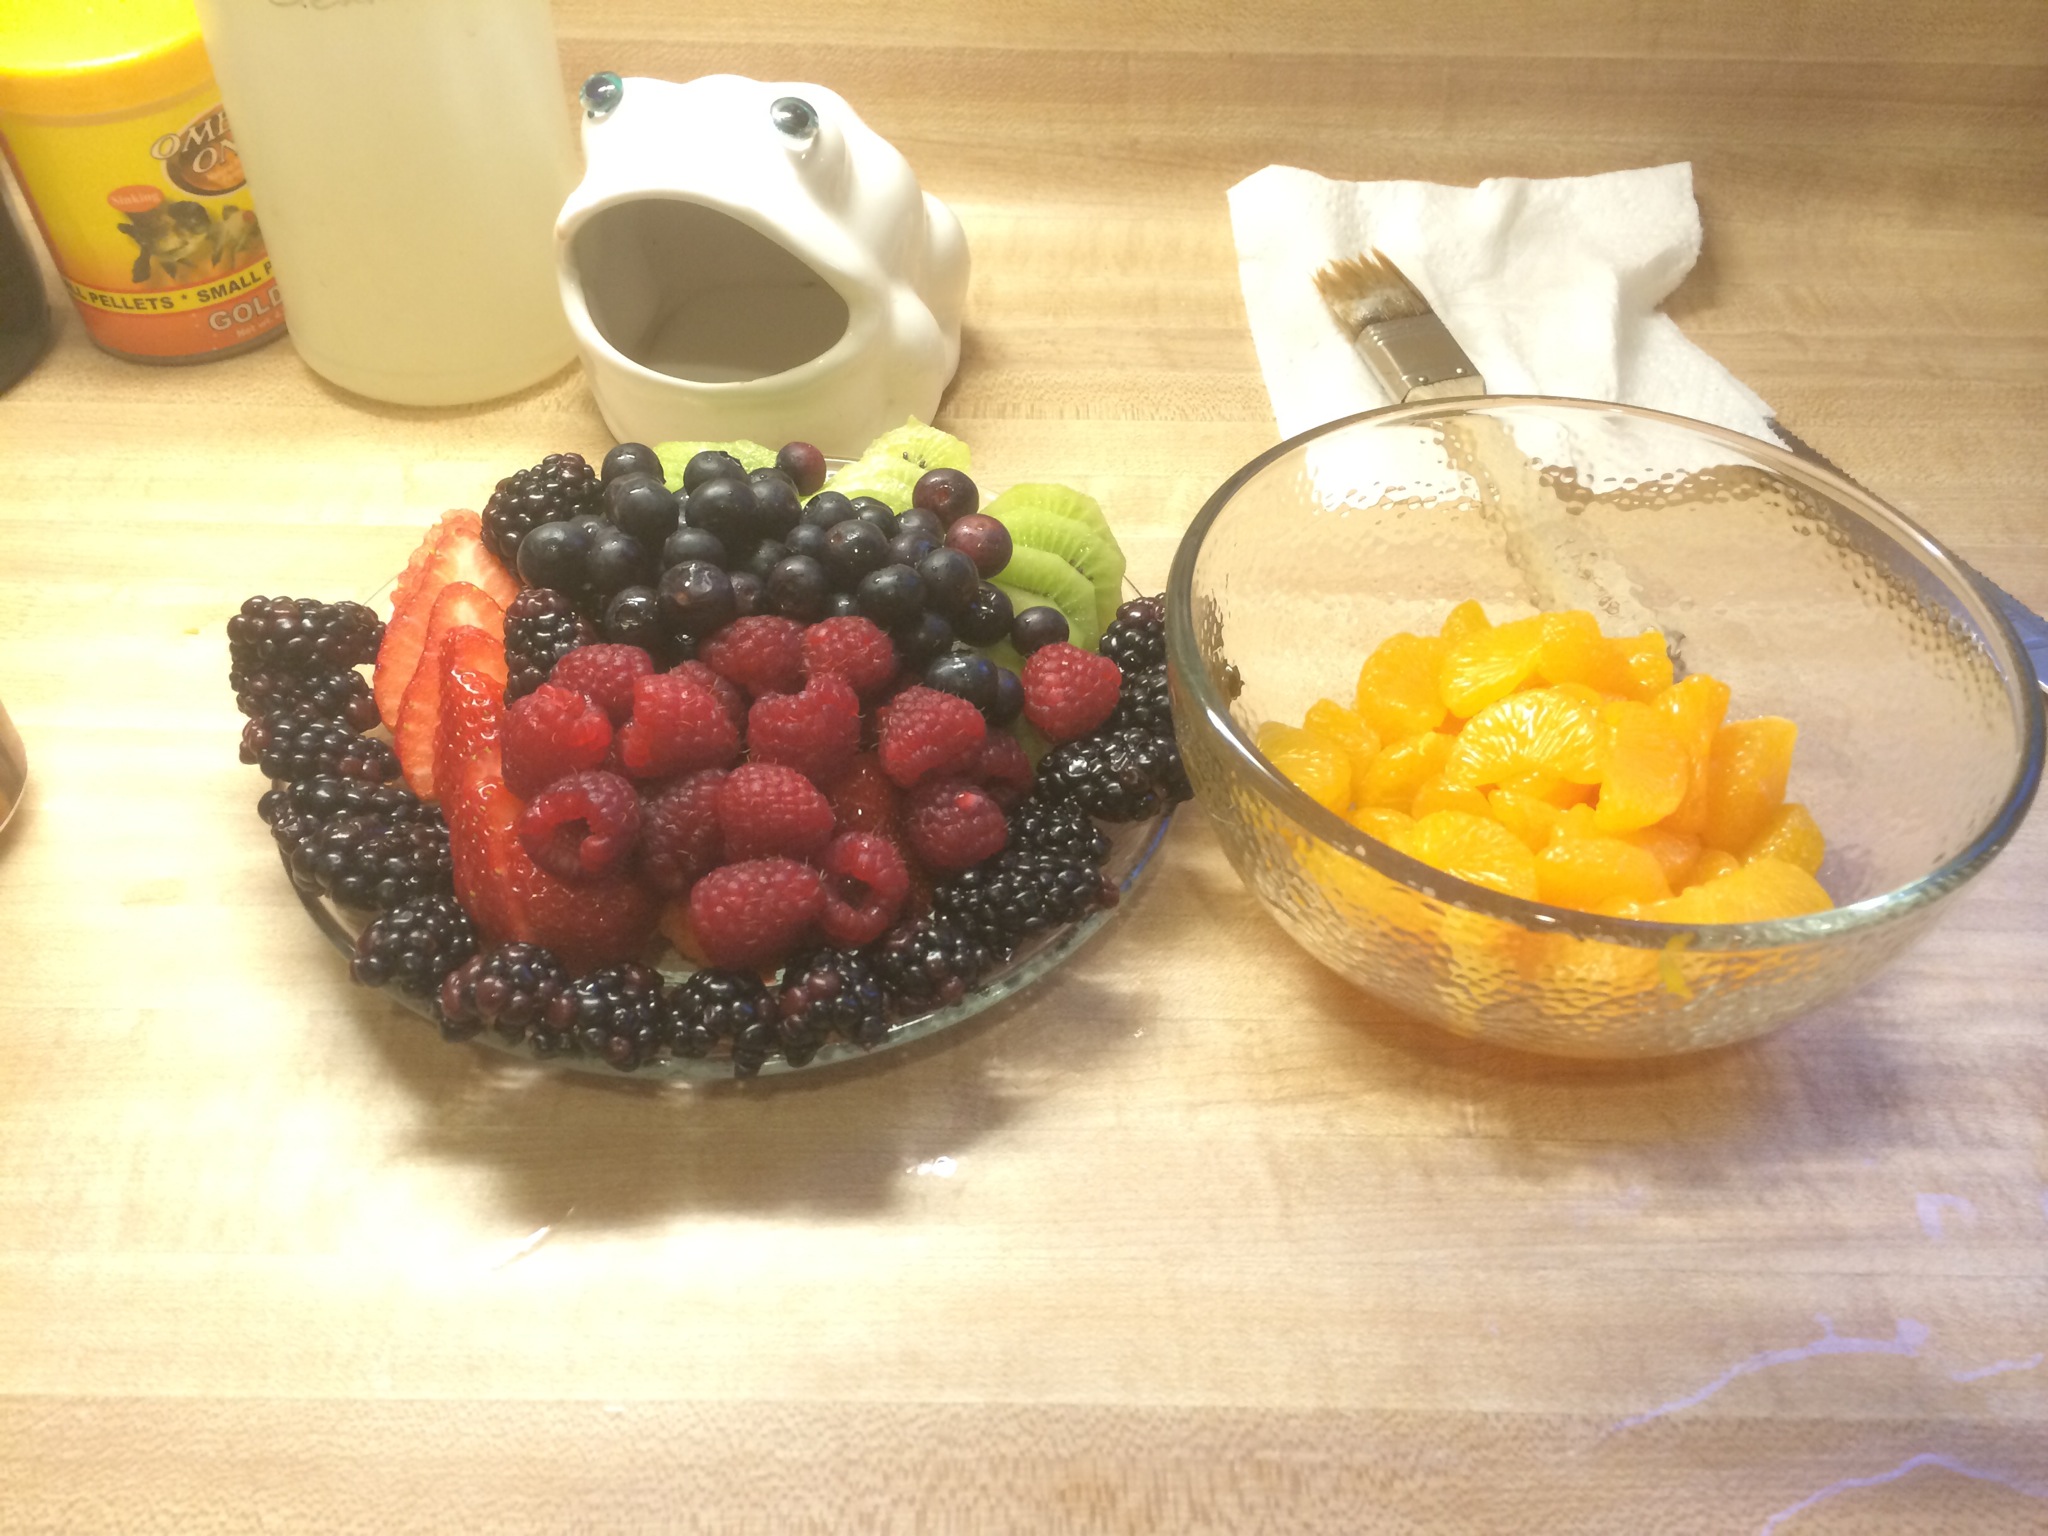
My mom prepared the fresh fruit (woohoo, one less thing for me to do). Also, canned tangerines aren’t fresh, but I prefer them to actual oranges for a fruit tart.
Here’s the pastry creme (a.k.a. the hero we need, but not the one we deserve).
And then the fruit on top of that! Also, not pictured, I did gel the fruit on this tart (took me two tries to get the gel right). The gel really helps keep the fruit in position when cutting. a sharp knife is also ideal. The main difference between this fruit tart and the two I made for the office potluck was that I managed to use half as much dough for the shell, which made a very thin crust (desirable).
Thanksgiving marked the end of a major deadline at work. My hope is to establish the proper work-life balance moving forward. I dislike coming home from work when its too late to cook for myself or do the things I want to do. Finding this balance will probably make it on the short list for New Year’s resolutions.
All in all, I’m thankful for everything that I’ve been able to accomplish this year. Keeping a record of the places I’ve been and the people I’ve spent time with has really reminded me of how fortunate I am.
Cheers to the future!

